DIY Wood Floor Refinishing: What You Need to Know
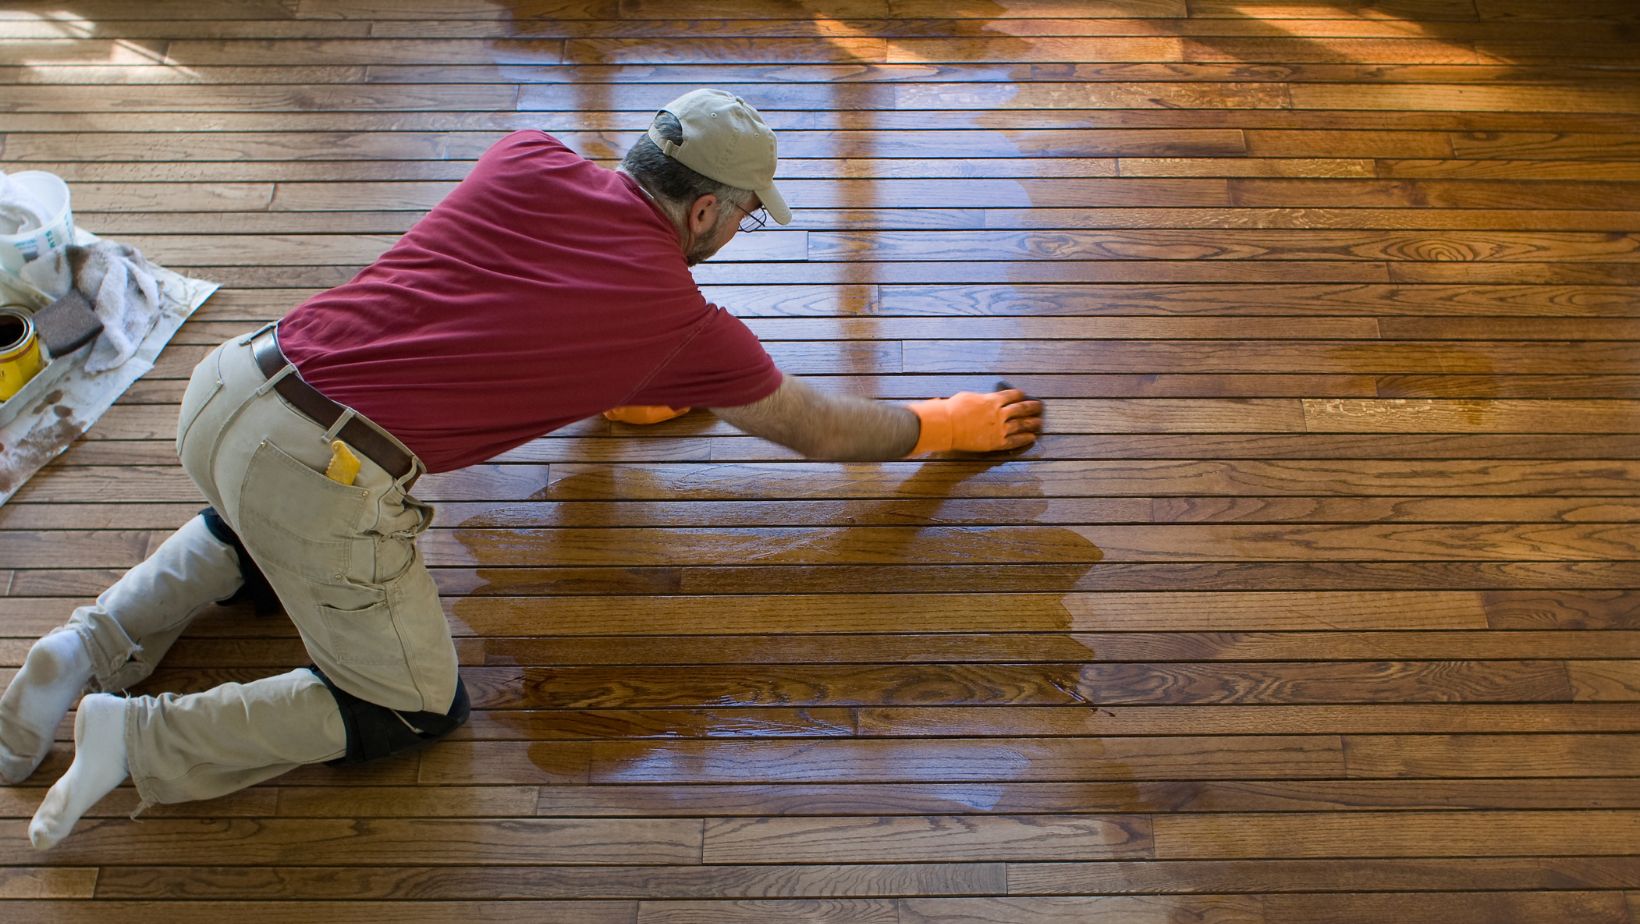
Refinishing your wood floors can transform the entire look and feel of your living space. Over time, even the most pristine hardwood floors can lose their luster, accumulating scratches, dents, and discoloration. This is where wood floor refinishing comes into play, restoring the natural beauty and charm of your floors. While hiring professionals can be a convenient option, embarking on a DIY wood floor refinishing project can be immensely rewarding and cost-effective.
Tools and Equipment Needed for DIY Wood Floor Refinishing
Before diving into the refinishing process, it’s crucial to assemble the right tools and equipment. Having the proper gear will not only make the task more manageable but also ensure a professional-looking finish. Wood floor refinishing requires sanding tools, stains, and sealants that can restore the natural beauty of your floors. With the right preparation, wood floor refinishing can transform old, worn-out surfaces into fresh and elegant flooring. Here’s what you’ll need:
- Floor sander (drum or orbital)
- Sandpaper (various grits)
- Vacuum cleaner with a HEPA filter
- Wood floor stain or polyurethane finish
- Applicators (brushes, rollers, or pads)
- Putty knife or floor scraper
- Painter’s tape
- Rags or tack cloths
- Respirator or dust mask
- Safety goggles
- Knee pads
Investing in high-quality tools and materials will not only make the process smoother but also ensure long-lasting results. It’s essential to read the manufacturer’s instructions carefully and follow all safety guidelines to ensure a safe and successful refinishing project.
Step-by-step Guide to DIY Wood Floor Refinishing
Now that you have all the necessary tools and equipment, it’s time to roll up your sleeves and dive into the refinishing process. Follow these steps carefully for a flawless finish:

- Prepare the room: Clear the room of all furniture, remove any baseboards or trim, and cover any areas you don’t want to refinish with painter’s tape or plastic sheeting.
- Inspect and repair: Carefully inspect the floor for any damage, such as deep scratches, dents, or loose boards. Use a putty knife or floor scraper to remove any old finish or wax buildup, and replace any damaged boards if necessary.
- Sanding: This is the most critical step in the refinishing process. Start with a coarse grit sandpaper (around 36-60 grit) and work your way up to a finer grit (120-150 grit) for a smooth finish. Always sand in the direction of the wood grain, and be sure to overlap each pass to ensure even coverage.
- Clean and prepare: After sanding, thoroughly vacuum and clean the floor to remove any dust or debris. Use a tack cloth to remove any remaining particles, ensuring a clean surface for the new finish.
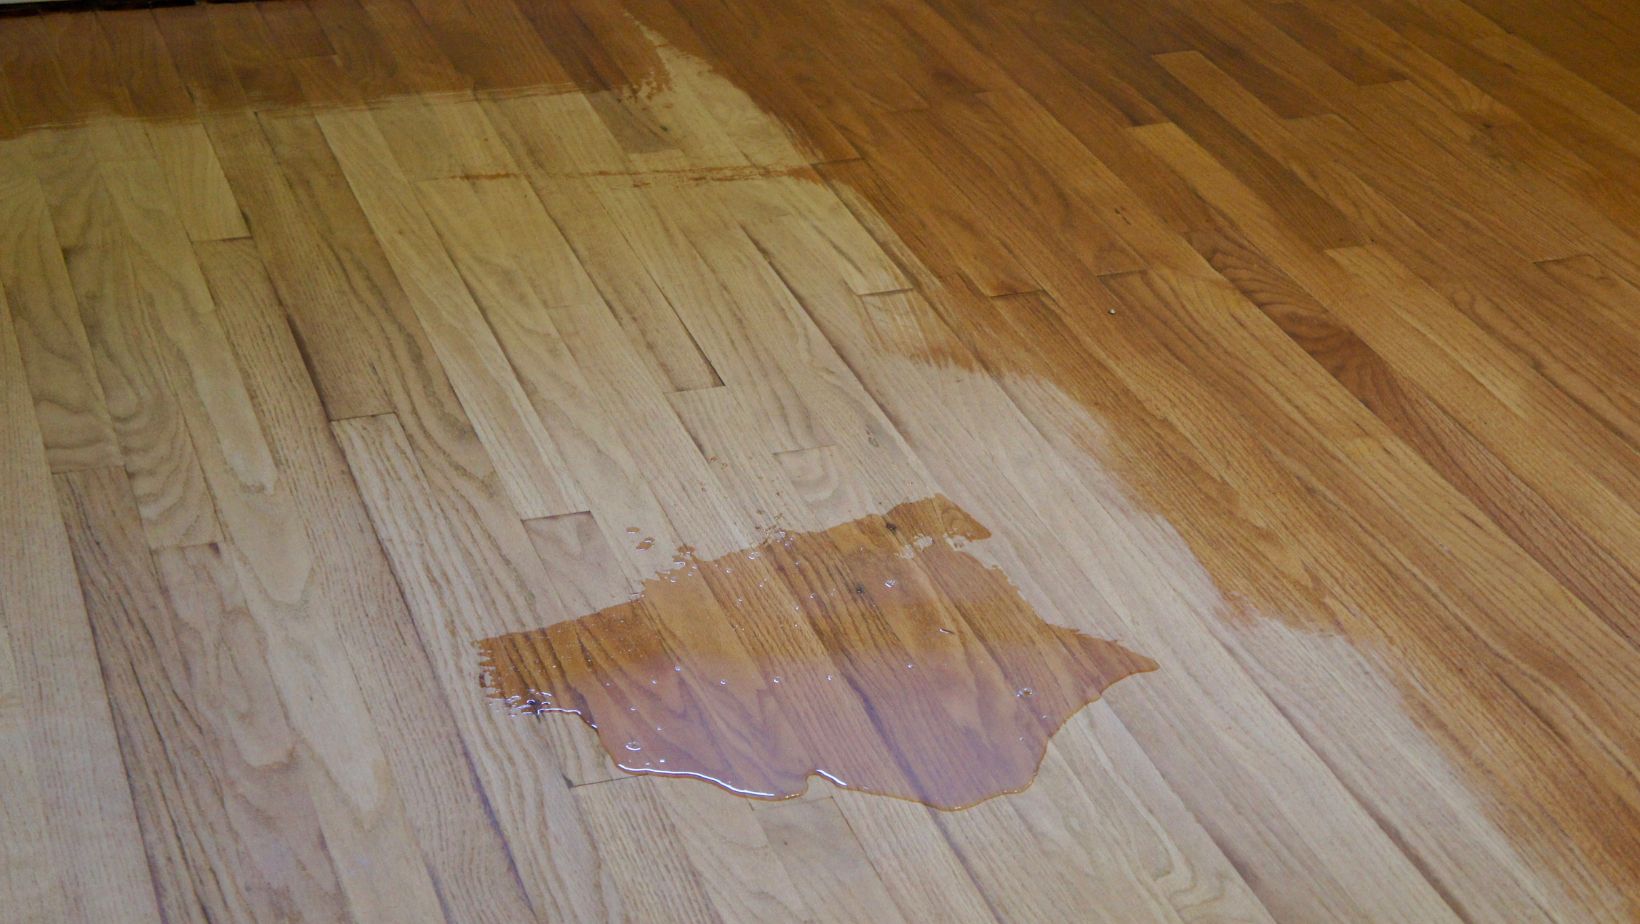
- Stain or seal: If you’re staining your floors, apply the stain evenly with a brush or applicator pad, following the manufacturer’s instructions. For a clear finish, skip this step and move on to the next.
- Apply the finish: Once the stain has dried (if applicable), it’s time to apply the polyurethane finish. Use a high-quality brush or applicator pad to apply the finish in thin, even coats, following the manufacturer’s recommended drying times between coats.
- Final touches: After the final coat has dried, carefully reinstall any baseboards or trim, and move your furniture back into the room. Enjoy your newly refinished wood floors!
Remember, patience and attention to detail are key throughout the refinishing process. Take your time, follow the instructions carefully, and don’t hesitate to seek professional advice if you encounter any challenges along the way.
Hiring a Professional for Wood Floor Refinishing
While DIY wood floor refinishing can be a rewarding and cost-effective endeavor, there are situations where hiring a professional may be the better choice. Consider seeking professional help if:
- You have limited DIY experience or are unsure about your skills.
- Your floors have significant damage or require extensive repairs.
- You have a large area to refinish, making the project more time-consuming and physically demanding.
- You have mobility issues or physical limitations that could make the process challenging.
Professional floor refinishers have the expertise, specialized equipment, and experience to tackle even the most complex refinishing projects. They can ensure a flawless finish and save you time and potential frustration.
Summary
Deciding whether to embark on a DIY wood floor refinishing project or hire a professional ultimately depends on your skill level, time constraints, and the condition of your floors. If you’re a confident DIYer with the necessary tools and patience, tackling the project yourself can be a rewarding and cost-effective option. However, if you’re short on time, have limited DIY experience, or your floors require extensive repairs, it may be wiser to seek the services of a professional floor refinishing company. Weigh the pros and cons carefully, and don’t hesitate to consult with experts to make an informed decision.

