
 Phaelariax Vylorn
Putting up family pictures helps a house feel lived in. People usually stick to regular paper prints inside glass frames. That works, but there are a few common issues. Glass catches glare, frames can shatter, and paper loses its color over the years. A lot of people are switching to different materials now. Metal printing works by putting dyes directly into a coated aluminum sheet. The result is a tough, sharp, and colorful picture.
When looking into places to get metal prints Canada, you’ll see they have a very clean, modern style. Since they don’t need heavy frames or glass, they blend right into most rooms. They don’t weigh much either, which makes hanging them a lot simpler. Before you figure out where everything will go on the wall, just grab a few basic tools.
Getting your supplies ready beforehand saves a lot of hassle:
Here are ten practical, evenly sized ways to display these modern prints in your home.
1. The Classic Living Room Gallery Wall
A gallery wall is a common way to show multiple family pictures at the same time. Metal prints don’t have thick frames, so you can place them close to each other without making the wall look messy. Pick one large picture to put right in the middle. After that, put smaller pictures around the big one. You can use different shapes like squares and wide rectangles to change things up.
Spacing is the main thing to watch when putting up a gallery wall. Leave exactly two or three inches between every picture. The Spruce website suggests keeping the center of the whole group about 57 inches up from the floor. This puts the pictures right at normal eye level, so people can see them easily when they walk past.
2. The Stepped Staircase Layout
The wall space going up a staircase is often left empty, but it is a perfect spot for family photos. Since you travel up and down the stairs daily, it is a great place to see your favourite memories. The trick to a staircase display is following the angle of the stairs. You want the photos to step up right alongside you as you climb to the second floor.
To get this right, measure a set distance from the middle of each stair tread to the bottom edge of the print above it. A standard height is about 60 inches from the step to the centre of the picture. Keep this measurement the same for every single print. Using metal works well here because they sit flat against the wall, meaning you will not accidentally bump and knock down a heavy frame while walking by.
3. The Minimalist Mantelpiece Lean
If you don’t want to drill holes in your walls, just lean the prints on your mantel. It looks casual and lets you move things around anytime you want. Metal is stiff and doesn’t warp, so the pictures stand up on their own without bending.
Put your biggest print against the wall first, slightly off to one side. Then put a medium picture in front of it so the edges overlap. Place a smaller one next to those. Layering them like this keeps the setup from looking flat. You can also add a small plant or a clock nearby so the shelf isn’t just full of metal.
4. The Kitchen Focal Point
People usually don’t put family pictures in the kitchen. Cooking creates heat, steam, and grease in the air. Moisture gets stuck under the glass in normal frames, which ruins the paper and the photo. Metal prints fix this problem. Aluminum surfaces handle moisture well and don’t stain.
You can put a row of pictures above a kitchen table or near a coffee maker. If they get dirty or greasy, just wipe them with a damp cloth. Pick bright pictures for the room. Just keep them away from open flames and the stove so they don’t get too hot.
5. The Large-Scale Statement Piece
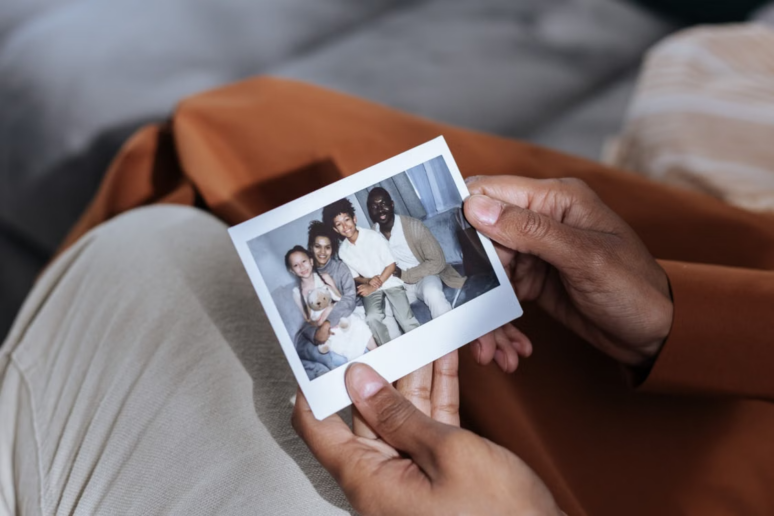
Sometimes one big picture works better than a bunch of small ones. A large print gets noticed right when you walk in. A 24×36 or 30×40 inch metal print fits well over wide furniture, like a couch, a dining table, or a bed.
Check the width of the furniture before you hang it. The picture should be about two-thirds the width of the couch or bed underneath it. If the print is too small, the wall will just look empty. Since metal prints have high resolution, large family pictures stay sharp. Having no frame keeps the big print from looking too heavy on the wall.
6. The Home Office Symmetrical Grid
A home office requires a clean, organized environment to help you stay focused. A messy or chaotic photo arrangement can be visually distracting. Instead, use a symmetrical grid layout. This means hanging a series of identically sized square or rectangular prints in perfectly straight rows and columns. Four or six prints work best for this layout.
Precision is necessary for a grid to look right. As noted by Architectural Digest in their art hanging guides, even a quarter-inch mistake in a grid will be noticeable. Use a laser level and a tape measure to ensure exactly one or two inches of space between every edge. The frameless nature of metal creates sharp, clean lines that fit perfectly with the professional and tidy aesthetic of a modern workspace.
7. The Narrow Hallway Vertical Stack
Hallways are hard to decorate. They are narrow, don’t get much light, and you can’t really step back to look at wide setups. Don’t try to squeeze a wide gallery wall in there. Just use a vertical stack instead. Hang three or four photos of the same size in a straight line going down.
Stacking them up makes the ceiling look a bit higher. People walk through hallways a lot and tend to bump into thick frames, knocking them crooked. Thin metal prints sit flat against the wall so they stay out of the way. Just put the middle picture right at normal eye level.
8. The Floating Picture Ledge Display
Floating shelves or picture ledges are very popular in modern home design. They provide a dedicated space to display art that can be swapped out in seconds. You can install two or three thin picture ledges on a bedroom or living room wall, spacing them about twelve to fifteen inches apart vertically.
After the shelves are up, just set your pictures on them. Metal is light, so it won’t weigh the ledges down. You can slide them back and forth until they look right to you. This works well if you take a lot of photos and swap them out often. It saves you from patching holes and drilling into the wall every time you want to change the setup.
9. The Bathroom Wall Oasis
Just like the kitchen, the bathroom is considered a hostile environment for standard paper photographs. The high humidity from daily showers easily warps paper and rusts cheap frame hardware. Metal prints work really well in the bathroom. The image is bonded directly to the aluminum, so steam and water won’t ruin the picture.
You can put a family vacation photo across from the mirror or over the towel rack. The shiny metal surface bounces the light around, which makes the room look a bit brighter. It is an easy way to put photos in a space that is mostly just hard tiles and mirrors.
10. The Bookshelf Integration
Bookshelves are meant for more than just storing books. If a bookcase only holds rows of spines, it can look flat and uninteresting. Integrating small family photos into the shelves breaks up the lines and adds visual texture to the room. Instead of hanging the metal prints on the wall, place small 5×7 or 8×10 inch sizes directly onto the shelving units.
You can lean them against the back panel of the bookcase to create a sense of depth, or place them on small decorative easels near the front edge of the shelf. Put a print next to a stack of horizontally laid books, or beside a small decorative box. The slim, rigid nature of the metal allows it to fit neatly into tight shelf spaces without taking up valuable room.
Conclusion
Finding the right way to display your family photos can completely change the look of a room. Standard paper and glass have their place, but switching to metal provides a clean, borderless appearance that suits modern home design. Because they are resistant to moisture, easy to clean, and very durable, you can put them in rooms where traditional photos simply would not survive.
Whether you decide to build a massive gallery wall in your living room, organize a strict grid in your home office, or simply lean a few pieces on a floating shelf, the rules of good spacing remain the same. Always measure your wall space carefully before you start drilling holes. Use tape to visualize the final result, and keep your main focal points at a comfortable eye level. By following these straightforward strategies, you can turn your favourite family memories into a permanent and stylish part of your home décor.