How to Get Rid of Mold in Your Home
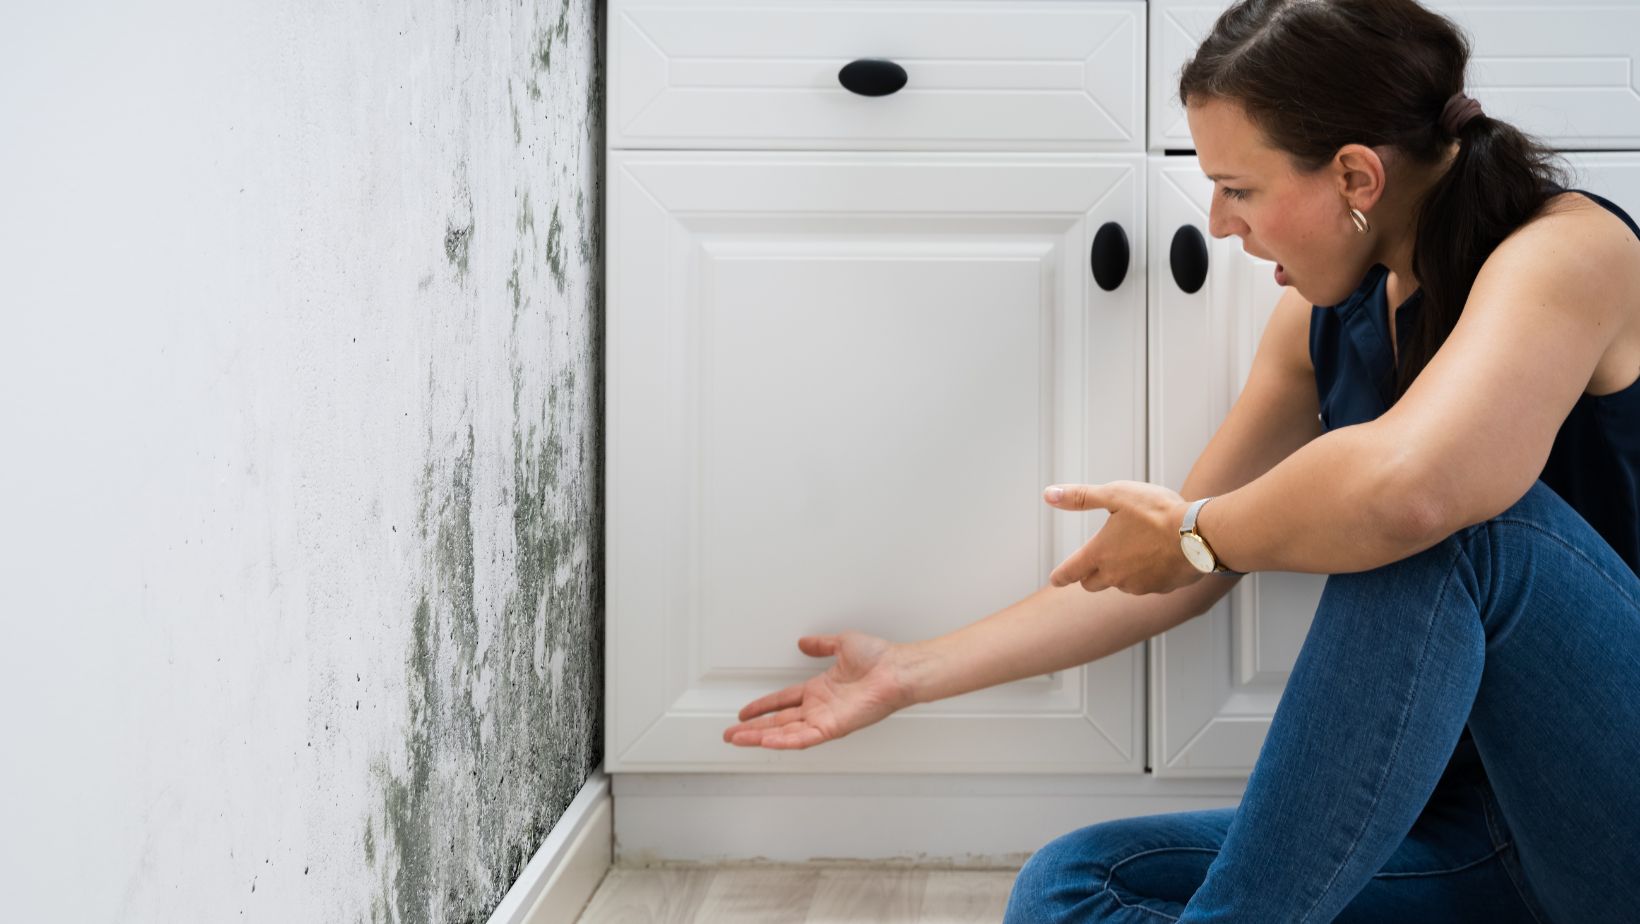
Mold is one of the last things you want to find in your home, especially because of how difficult it can be to get rid of. This contaminant thrives in areas and environments with excess moisture or high humidity levels, and it can also cause several other problems that could end up damaging the interior of your home.
Here’s how to get rid of mold on different surfaces and materials, as well as how to keep it from coming back.
How to Remove Mold from Fabric Materials
Step 1: Remove Visible Mold
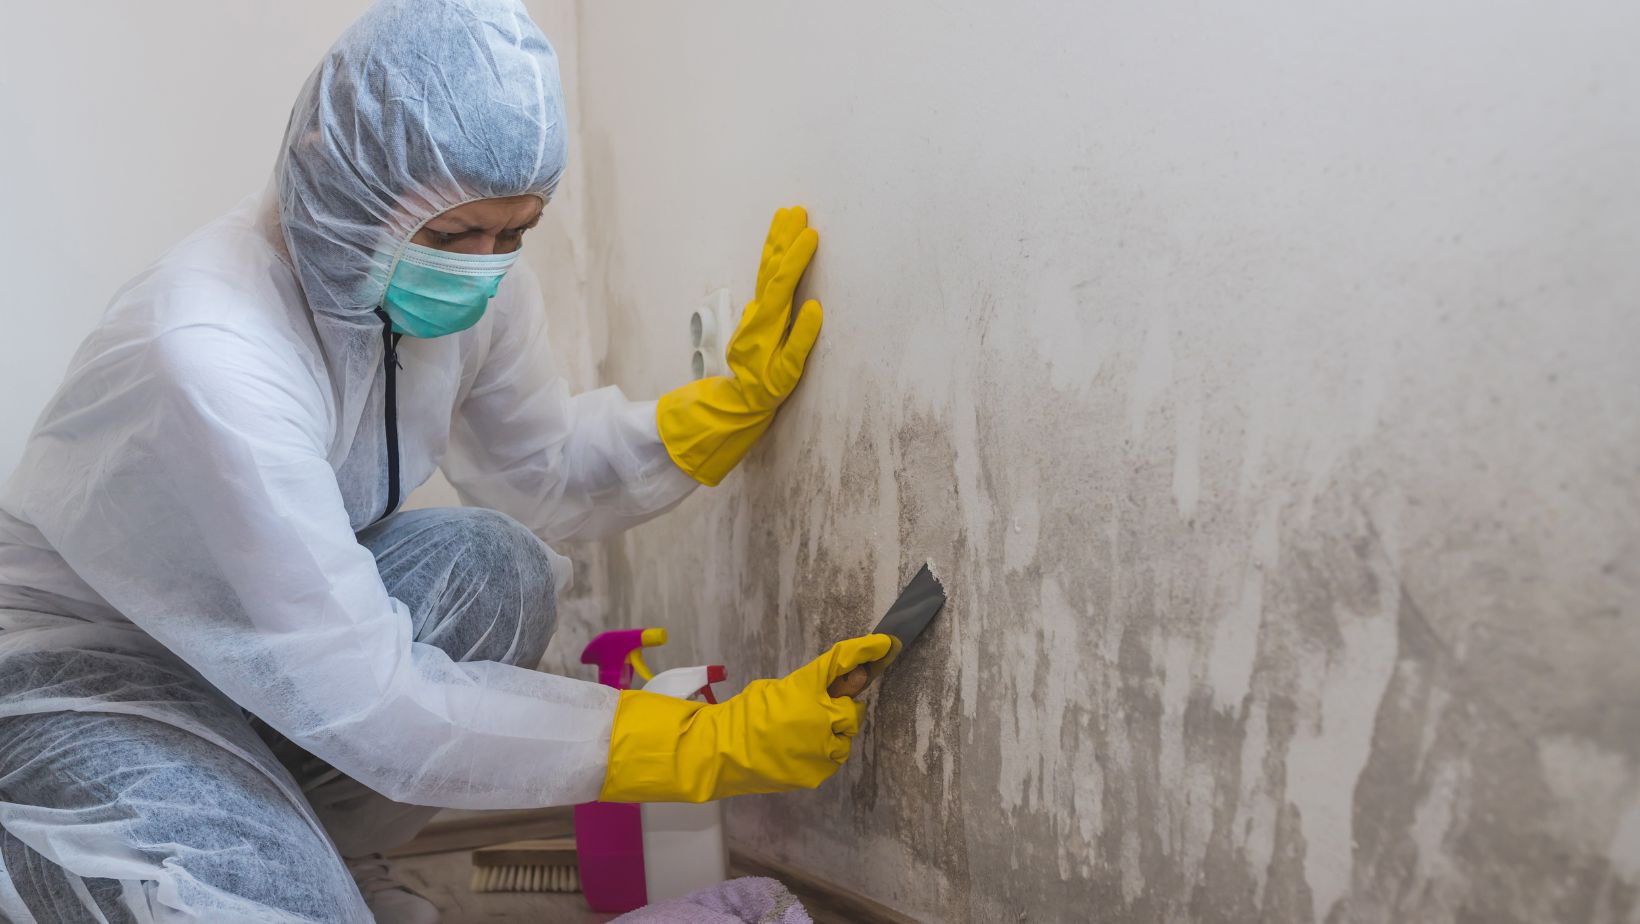
If you ever smell a musty odor in a closet or bathroom, there is likely microbial (mold) growth that could indicate or lead to serious damage. If you can smell it, you’ll likely see the damage in the near future like subfloor damage (flooring caving in) or visible mold growth. If you see this type of damage, it’s best to call a certified mold remediation company because you’ll likely have to do some intensive work to remove the mold
Step 2: Prepare a Cleaning Solution
Combine equal parts of white vinegar and cold water in a bucket, basin, or sink. Feel free to add more water than white vinegar when dealing with more delicate fabric materials. If you’re dealing with a more serious case of mold growth, then you can also add a few drops of mild detergent, but only when dealing with fabrics that are water-washable.
Step 3: Let the Fabric Soak
Let the fabric soak in the cleaning solution, ensuring the affected area is completely submerged, and leave this for at least 30 minutes. Once enough time has passed, start gently scrubbing the moldy area with a scrub brush until it’s completely clean. Repeat this as many times as needed.
Step 4: Rinse and Dry
When all the mold has been cleaned off, rinse the fabric thoroughly with some clean water. For an additional cleaning step, you can also throw machine-washable fabrics into the washing machine with cold water and some mild detergent.
Finally, leave the fabric to air dry completely, ideally outside under direct sunlight, as this will eliminate any lingering mold spores as well as odors and bacteria.
How to Remove Mold from Interior Surfaces
Step 1: Remove Visible Mold
Regardless of whether you’re cleaning mold off of walls or tiles, start by gently wiping away any visible mold and loose debris with a clean microfiber cloth. Once you’re done, make sure to remove the microfiber cloth from the space to prevent spores from spreading.
Step 2: Prepare a Cleaning Solution
In an empty spray bottle, combine equal parts of white vinegar and warm water. Make sure to shake the bottle afterward to mix everything properly.
Step 3: Start Cleaning
Spray your homemade cleaning solution onto the affected surfaces and leave it to sit for 15 minutes.

Then, use either a scrub brush or sponge to scrub away at the moldy area, making sure to use circular motions. Repeat this as many times as needed until the mold is gone.
Step 4: Rinse and Dry
Once all traces of the mold have been removed, rinse the area with some clean water before using a clean cloth to wipe away any remnants of the cleaning solutions as well as any mold residue. Finally, leave the area to dry completely. It can either open some windows or direct an electric fan towards the area, as this will help increase air circulation.
How to Remove Mold from Leather
Step 1: Remove Visible Mold
Bring the leather item outside if possible and use a soft-bristled brush to remove any loose mold particles, as well as any dirt or debris.
Step 2: Start Cleaning
With either white vinegar or rubbing alcohol, dampen a soft cloth with your chosen cleaner, and use this cloth to wipe down the affected item. After every wipe, make sure to rinse the cloth with some hot water before dampening it once again with your chosen solution. This will prevent the mold from spreading.
After wiping away all visible mold, create some soapy water with warm water and leather soap. Dampen a clean cloth in this solution and wipe down the leather item once again.
Step 3: Dry and Condition
Once you’ve finished wiping, leave the leather item to dry fully. This should be done away from direct sunlight or heat sources, which can damage the leather material. Once dry, use your preferred leather conditioner and follow the instructions for use printed on the label to keep your leather feeling soft and smooth.
How to Get Rid of Mold from Plastic Shower Curtains
Step 1: Apply Mold Cleaner
There are many different commercial mold cleaners available, so feel free to use your preferred product.

Spray this onto your shower curtain or liner while it’s hanging, as this will help you target the affected areas more easily. Leave this for around five minutes, but make sure that the applied cleaner never fully dries. During this time, the mold should start to disappear.
Step 2: Rinse and Dry
Once the five minutes have passed, rinse off the cleaner and loose mold particles with hot water. You can use a handheld showerhead for this step, but you can also fill a cup with hot water repeatedly and pour it on the plastic curtain. To finish, leave the plastic curtain halfway open to air dry.
Mold can be very difficult to eliminate, but it’s definitely not impossible, especially when you follow these simple and easy cleaning steps. However, for more serious mold problems, it may be best to leave things to professionals like Luce SG.
Luce’s team of professional cleaners offers deep cleaning services that can target any of your household cleaning needs, including mold cleaning and removal, all at an affordable price.


