
The Complete Guide to Flushing Your Water Heater
Flushing your water heater is an important task that should be done every 1 to 3 years, depending on your home. It can seem not very comforting, but it is pretty simple.
To begin, shut off your water supply at the valve near the top of the tank. Next, open a hot water faucet in your house (preferably a bathtub). This will prevent air from creating a vacuum in the lines as you drain the water heater.
Turn Off the Water
Unlike the “always hot” magic of an instantaneous water heater, traditional storage tanks need a little love – once-a-year flushing, to be exact! This simple process helps remove sediment buildup that can clog your water heater, keeping it working efficiently and potentially adding years to its life. Are you curious about how to flush a water heater? It’s easier than you think! We’ll guide you through the steps to ensure your hot water stays clean and plentiful.
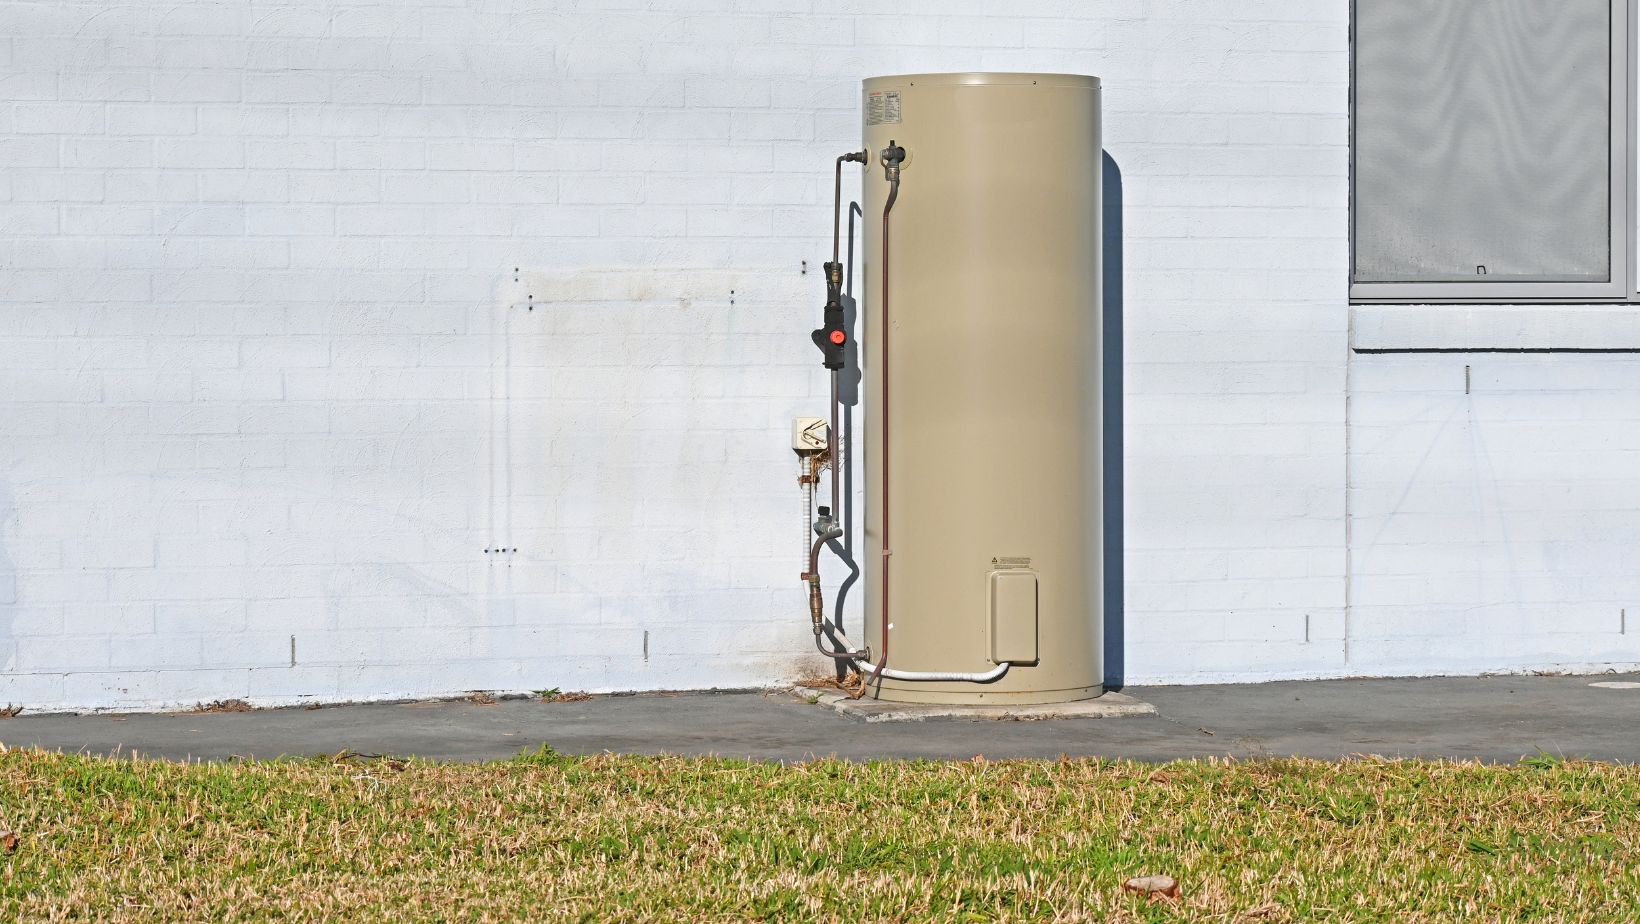
The first step is to turn off the water supply. This can be done by locating the cold water shut-off valve (usually near the top of the tank) and turning it to the off position. Electric water heaters should also be turned off at the circuit breaker.
It’s best to complete this step at night after everyone has gone to bed and there’s no need for hot water. This will help prevent scalding in the morning. You can also open a faucet in another room to drain the water similarly.
Turn Off the Power
Your water heater is vital to your home and requires regular maintenance. Over time, your tank can build up a layer of sediment that prevents it from heating your water efficiently and leads to problems like a faulty element or low hot water pressure.

When you flush your water heater, you’re draining the water and cleaning out this sediment buildup to improve the life of your system. Locate your home’s breaker box and turn off the switch linked to your water heater. You’ll also need to turn off the cold water supply valve at the top of your water heater. This is typically a 90-degree valve that closes or opens with a few turns.
Connect a Garden Hose
Often, much sediment collects in the bottom of your water heater. Over time, this reduces the hot water your heater can hold. You can quickly drain the sediment out of your water heater with a garden hose.
A suitable garden hose should be durable and easy to use. If you’re looking for a new hose, talk to an associate at your local home and garden center or hardware store. They can recommend a hose for your needs and budget.
Avoid easily kinked or bent hoses, which can restrict water flow. Look for a hose with anti-kink technology stored in loose coils so it doesn’t develop a memory of the tight coil shape. Also, consider a hose that can resist freezing, which could cause it to burst.
Open the Drain Valve
When the drain valve is opened, water will flow out of your water heater. As the water flows out, it will lift sediment off your tank’s bottom.
Be sure to open a hot water faucet somewhere in your home (preferably upstairs) to help air out the tank as it drains. This will help speed up the flushing process.
When the hose is fully drained, close the drain valve and remove it from the fixture. Turn the breaker or gas supply back onto your water heater and turn on one of the hot water fixtures you opened in step 5. This allows air into your tank and will prevent the pressure relief valve from blowing up after the sediment is flushed away.
Test the Water
Your water heater is like a quiet workhorse, reliably providing your household with hot water. But over time, sediment and mineral buildup can accumulate inside your water heater tank, reducing efficiency and lifespan.
Regularly flushing your water heater can help keep these problems at bay. But before you start, you’ll need to shut off your unit’s water valves and power supply (or turn off the breaker). You’ll also need a garden hose and a bucket. Once you’re done, you can test your water heater and know it’s been successfully flushed! This everyday yet often overlooked chore is easy and can significantly reduce energy bills. Plus, it’s a great way to avoid costly repairs or replacements.