Can You Paint Engineered Wood? (Answered!)
While engineered wood may not be as durable as solid, you still can use different methods to always keep it looking fresh.
Wood floors, as well as furniture, take a lot of beating in their lifetime and are fairly exposed to wear and tear.
However, regular cleaning and light sanding can give your floor or furniture a much-needed facelift.
Besides just refreshing the existing surface, many homeowners are interested in giving their engineered wood elements a full makeover.
One of the perks of this type of flooring or furniture is that it can feature a range of different textures, styles, and patterns.
Still, some people want to go for a whole new look and change the wood color, which brings the question can you paint engineered wood?
Below, you’ll find the answer to this and find out everything you need to know about the process of painting engineered wood.
So, let’s dive in!
Table of Contents
Can You Paint Engineered Wood?

While the natural appearance of the engineered wood is most common, some owners preferred the painted look.
However, this is not always easy to achieve, in part because the actual wood layer is fairly thin which gives you less to work with.
Prior to any painting job, you’ll need to prepare the surface.
This involves sanding the previous finish which can be tricky and delicate as there’s not that much wood to sand.
In general, you can paint engineered wood, the complexity of the process itself will depend on several factors, mainly the type and the age of wood, the current finish, and the paint you plan to use.
This is particularly the case with furniture which often only features a very thin veneer top coating.
With the floors, you can be a bit more relaxed, as there’s commonly some leeway that will allow for safe sanding, preparation, and finishing.
How To Paint Engineered Wood Floors Or Furniture?

If you’re planning to paint engineered wood, first make sure to understand everything that goes into it.
The process of painting engineered wood floors or furniture involves a few different stages,
To make sure the end result is satisfactory, don’t skip any steps and do all the necessary preparation.
The job itself is not overly complicated and you’ll likely be able to do it yourself. It can make for a fun DIY project.
Still, be aware that it takes some time and effort and requires you to be precise and pay full attention to details.
Find The Right Supplies
In addition to being equipped with the right tools for the job, it’s also crucial that you choose the right type of paint for what you want to achieve.
For high-quality and lasting paints, oil or water-based enamel is always a good choice. You should also pay attention to what you’re going to use as the protective topcoat.
A clear polyurethane finish is probably the best option for these purposes.
While it may be tempting to use acrylic woo, especially on the furniture, this is not the best idea, as it will likely start cracking after only a few months.
Also, bear in mind that no matter the quality of the surface you’re painting, you’re more than likely to need more than one coat.
If there’s any exposure of bare wood, it should be covered with paint-compatible primer before applying the paint coat.
Preparing The Surface
Of course, you can’t just open a can of paint and start to work. Prior to painting, you’ll have to properly prepare the surface.
As the dirty surface can ruin any paint job, make sure that it’s thoroughly cleaned before applying paint.
Once you’re done, there should be no traces of dirt or debris on the wood.
If the wood was already painted before and the existing finish still has some sheen to it, you’ll need to make sure to de-gloss it first.
A bit of light sanding should do the trick. Sand the surface until you feel it’s smooth to touch.
This is particularly important when painting engineered wood furniture as the painted finish won’t look blotchy and odd.
Sanding will also improve the adhesiveness of the engineered wood surfaces and help the first coat of paint to stick and dry quickly.
Multiple Coats
For the paint job to look perfect, you’ll have to apply multiple coats over the engineered wood.
The first coat should be rather thin as this will allow it to dry quickly so you can move on without wasting too much time.
If you don’t get 100% of the finish with the first paint, don’t worry, you’ll rectify it with top coats.
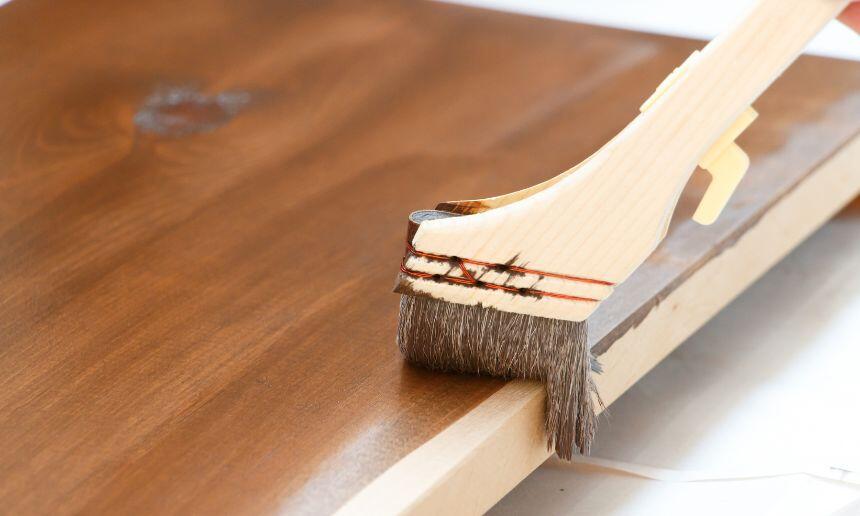
Also, make sure that your strokes follow the natural grain direction, as painting in the opposite direction will result in various imperfections once the paint is dried.
After waiting enough time for the first coat to dry, you may apply additional coats.
In the case of painting the floor, you can rescreen the surface between coats to create an extra smooth finish.
If the surface is uniform, smooth and without any noticeable blemishes after the second coat, you probably won’t need to add any more coating layers.
Conclusion
People may decide to paint their engineered wood floors or furniture for a variety of reasons.
Sometimes, they can just get bored over the years with the same sight and may which to freshen up their living space.
In some cases, new homeowners may not like the color of the floors or furniture the previous owner left behind and would want to add a personal imprint on the interior decor.
Whatever the reason, painting a wooden floor or furniture is one of the most effective ways to add a breath of fresh air to your household.
However, if those are made of engineered wood, you should do your research and learn how to do it properly.
Failing to follow all the necessary steps will probably lead to a poor job and a finish you won’t be happy with.
Like with all home improvement projects, knowledge and proper preparation are crucial for satisfactory results.


