Cleaning and Sanding Your Leather Before Dyeing Your Sofa
Dyeing leather can be a great way to enhance its appearance and bring a new life to old or worn-out leather goods to achieve a high end designer look. However, before diving into the dyeing process, it is crucial to prepare the leather to ensure the best results properly. Cleaning and sanding the leather are two critical steps in the preparation process that must be noticed. This blog post will delve into the importance of these two steps and provide tips for effectively cleaning and sanding your leather before dyeing. With proper preparation, you can ensure that your leather will have a consistent color and finish that lasts for years.
Cleaning The Leather
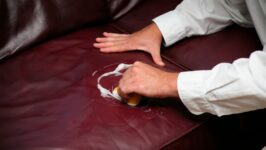
Cleaning the leather involves removing any dirt, oil, or grease on the leather’s surface. This is important because these contaminants can interfere with the absorption of the leather sofa dye and result in an uneven finish. It is recommended to use a leather cleaner or special leather wipes with conditioner specifically designed for this purpose to clean the leather. The cleaner should be applied to a soft cloth and then wiped onto the leather, following the grain of the leather. It is essential to avoid using too much cleaner, as this can cause the leather to become oversaturated and result in damage or tears that you have to repair. The leather should then be allowed to air dry completely before proceeding to the next step in the preparation process.
Why Cleaning Is Necessary Before Dyeing
Cleaning is necessary before dyeing leather as it removes any dirt, oil, or grease on the leather’s surface. If these contaminants are not removed before dyeing, they can interfere with the absorption of the dye and result in an uneven finish. The pollutants can also cause the stain to fade or peel more quickly over time. Thoroughly cleaning the leather before dyeing makes the surface smoother and more receptive to the dye, leading to a longer-lasting, consistent finish.
Steps For Cleaning The Leather
To clean the leather before dyeing, start by removing any loose dirt or debris with a soft brush or cloth. Then, mix a mild soap solution with water and use a damp cloth to clean the leather’s surface gently. Avoid using too much water, as this can damage the leather. After cleaning, allow the leather to air dry completely before sanding or dyeing. If necessary, use a leather conditioner to remove any moisture removed during cleaning. It’s important to note that not all leathers can be cleaned, and different types of leather may require other cleaning methods. So, it’s best to research the specific type of leather being used to determine the best cleaning method.
Tips For Effective Cleaning
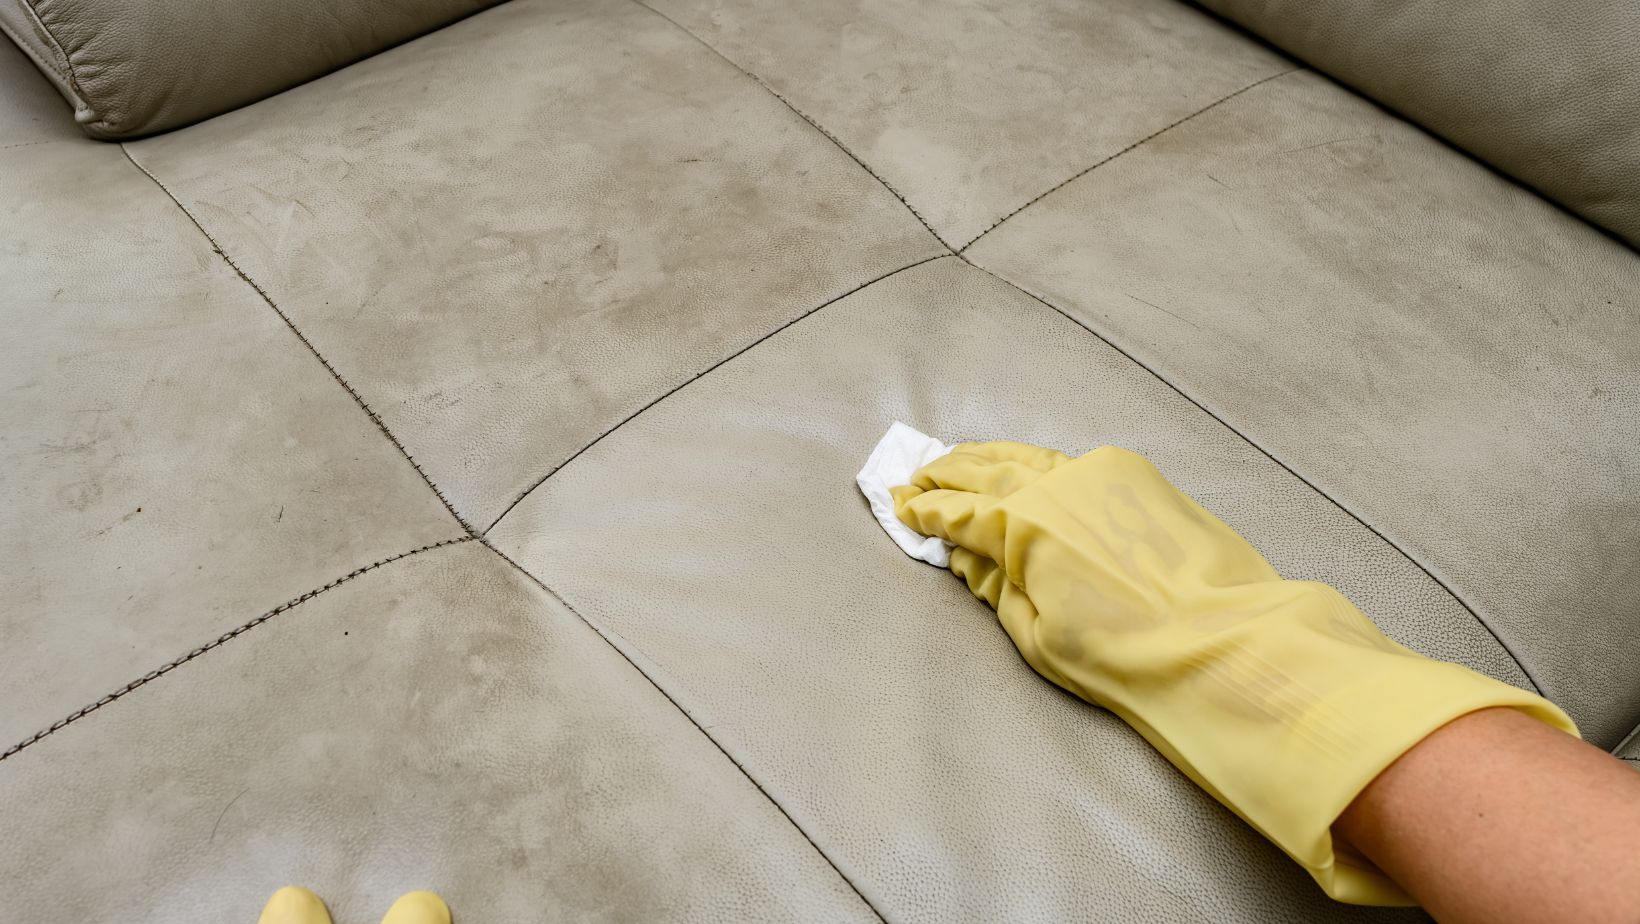
Effective leather cleaning before dyeing requires using a leather cleaner specifically designed for this purpose. The Sparkle Gang, who specialise in hoarder cleaning comes across really dirty sofas all the time and have some great tips. The cleaner should be applied with a soft cloth, avoiding harsh scrubbing or excessive pressure that may damage the leather. It is also essential to ensure that the leather is dehydrated after cleaning, as any residual moisture can affect the absorption of the dye. To avoid damaging the leather, it is recommended to test the cleaner in an inconspicuous area before applying it to the entire surface. If a leather cleaner is unavailable, a mild soap solution or rubbing alcohol can also be used for cleaning.
Sanding The Leather
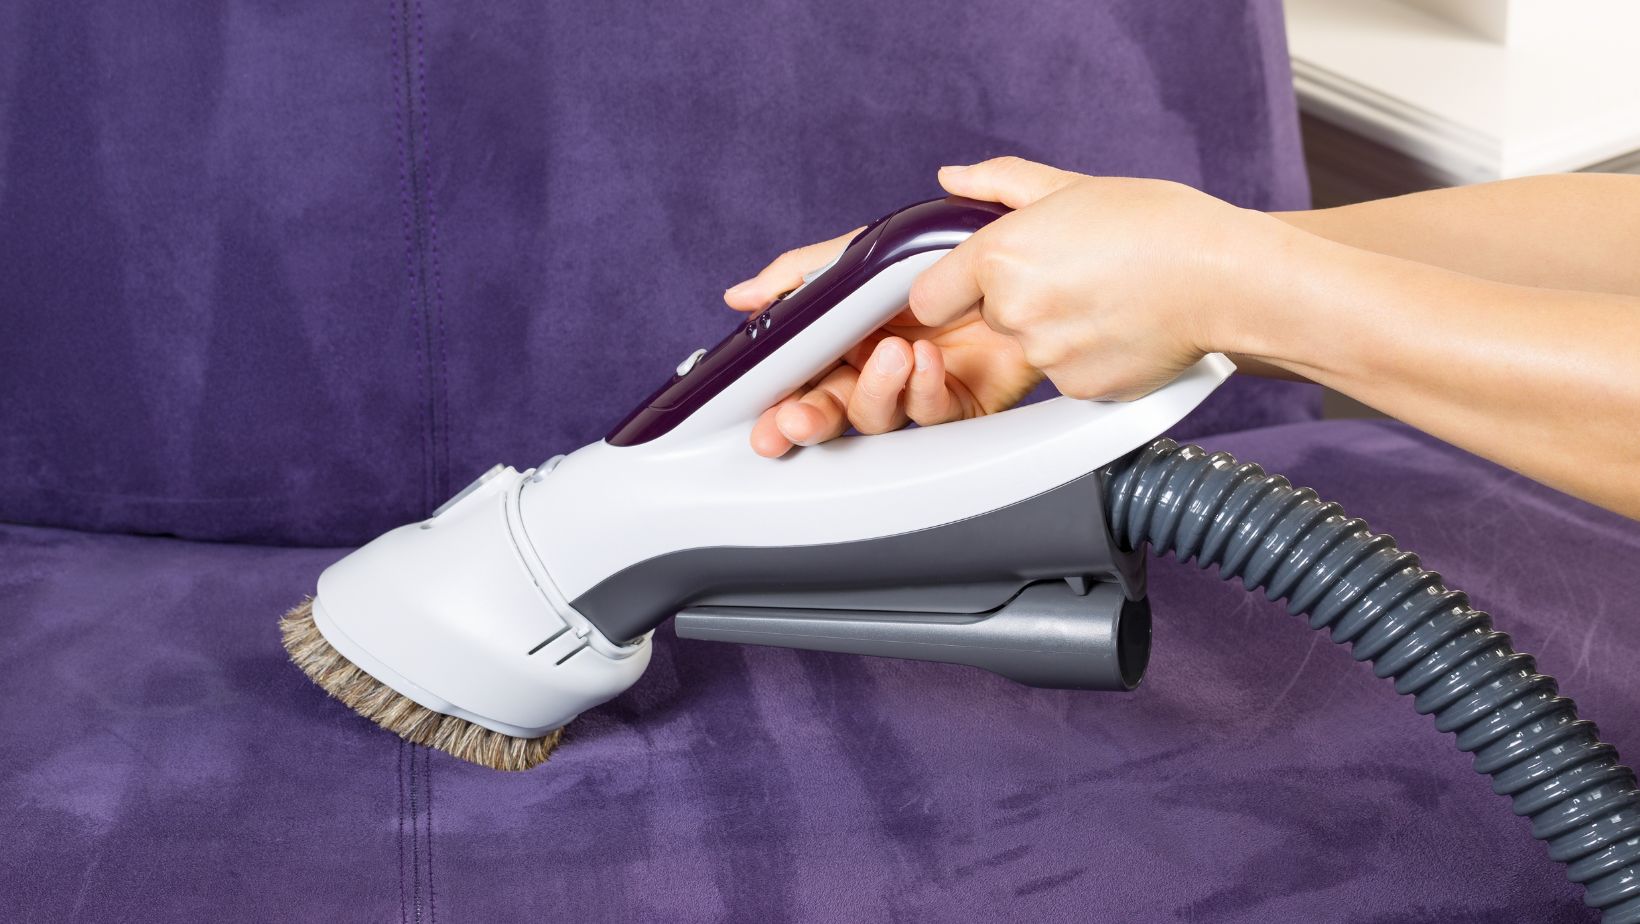
Sanding the leather is another crucial step in preparation before dyeing. Sanding helps to remove any rough or raised surfaces and to create a smooth, even surface that will allow the dye to be applied evenly. Sanding also helps to open up the pores of the leather, which can be clogged with dirt, oil, or grease, allowing the dye to penetrate more deeply into the surface. This results in a more vibrant and long-lasting finish. It is essential to be gentle and consistent when sanding, as excessive sanding can cause damage to the leather. Sanding should be done in the direction of the grain, using fine-grit sandpaper to avoid damaging the surface.
Why Sanding Is Necessary Before Dyeing
Sanding is essential in the preparation process before dyeing leather because it helps smooth the surface and create a more even surface for the dye to adhere to. Sanding also helps to remove any rough patches or imperfections on the leather, which can result in an uneven finish if not addressed. Sanding prepares the leather to accept the dye more efficiently, leading to a more consistent and longer-lasting color and finish. The final result is a smoother, more polished surface ready for dyeing by taking the time to sand the leather properly.
Tips For Effective Sanding
When sanding leather, using the correct type of sandpaper and grinding in the right direction is essential. Start with coarse sandpaper to remove any rough patches or blemishes on the surface, and then progress to finer sandpaper to smooth out the surface and prepare it for dyeing. Make sure to sand evenly and avoid grinding too hard or too deeply in one spot, as this can cause the leather to become thin or damaged. It is essential to use gentle pressure and avoid applying too much force, as this can damage the leather. Regularly checking your work and adjusting your sanding technique as needed can help to ensure that you get the best results.
Improved Dye Absorption
Improved dye absorption is one of the key benefits of proper preparation before dyeing leather. By cleaning and sanding the surface of the leather, you remove any dirt, oils, or other contaminants that can prevent the dye from penetrating the surface. This allows for better dye penetration and a more even, consistent color. Properly preparing the leather can help to ensure that the dye lasts longer and does not fade or wear away as quickly. By designing the leather properly, you can achieve better dye results and a longer-lasting, more vibrant finish.
Consistent Colour And Finish
Consistent colour and finish are benefits of proper preparation before dyeing leather. When the leather is properly cleaned and sanded, the dye will be absorbed evenly and consistently across the surface, resulting in a uniform color. This is because the sanding process removes any rough patches or blemishes that could interfere with the absorption of the dye, and the cleaning process removes any dirt or grime that could affect the color. With proper preparation, you can achieve a more professional and polished look, and the dye will likely last longer on the leather. Obviously, getting the exact color you want is important if you’re planning to color match any items of furniture that you need or to color-match a rug in your living room.
Longer Lasting Results
When properly preparing leather by cleaning and sanding it before dyeing, you can ensure that the results will last longer. The cleaning removes dirt, grime, and any oils or other substances that may prevent the dye from adhering correctly. Sanding the leather removes any rough spots and creates a smooth surface for the paint to be absorbed evenly. This helps to ensure that the color is consistent and that the finish is soft and durable. By preparing the leather properly, you can extend the life of your finished product and enjoy the results for years to come.
Proper preparation is crucial when it comes to dyeing leather. Cleaning and sanding the leather before applying the dye ensures that the paint adheres evenly and provides a long-lasting finish. Failure to prepare the leather can result in an uneven and lackluster appearance that can be difficult to fix. If you’re ready to give your leather a fresh look, call us today or visit our website to learn more about our leather dyeing services. Our experienced technicians help you achieve the perfect result every time.