DIY Ceiling Wallpaper: Tips for Installation and Maintenance

Transforming a room with ceiling wallpaper can be a creative and impactful way to enhance your home’s interior design. While walls often receive the most attention, the ceiling is an often-overlooked space that offers a unique opportunity to add character and depth to a room. With the right wallpaper and a bit of DIY spirit, you can create a stunning focal point that draws the eye upward and adds a layer of sophistication to your space.
Whether you’re aiming for a bold statement or a subtle enhancement, installing and maintaining ceiling wallpaper can be a rewarding project that showcases your personal style. Here are some essential tips and steps to guide you through the process, ensuring a professional-looking finish that lasts.
Preparing Your Ceiling for Wallpaper
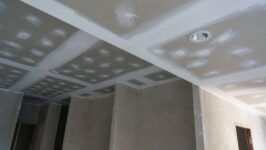
Before you begin, it’s crucial to prepare the ceiling properly. Start by thoroughly cleaning the surface to remove any dust, grease, or stains, as these can prevent the wallpaper from adhering properly. Use a mild detergent and a sponge to clean the ceiling, then allow it to dry completely. If there are any cracks or holes, fill them with spackle and sand smooth for an even surface.
Next, apply a primer specifically designed for wallpaper. This step is vital as it ensures better adhesion and makes future removal easier. According to Desert Poppy Paper, a premier wallpaper company, using a quality primer can significantly enhance the longevity of your wallpaper installation. Ensure the primer is completely dry before proceeding to the next step.
Choosing the Right Wallpaper and Tools
Selecting the appropriate wallpaper for your ceiling is key to a successful installation. Opt for lightweight, non-woven wallpapers that are easier to handle and apply. These wallpapers are designed to withstand gravity and are less likely to peel over time. Additionally, gather all necessary tools, including a ladder, wallpaper paste, a smoothing brush, and a sharp utility knife.
When choosing wallpaper, consider the room’s existing decor and lighting. A lighter wallpaper can help brighten a room, while a patterned design can add visual interest. Always purchase a little extra wallpaper to account for mistakes or future repairs.
Installing the Wallpaper
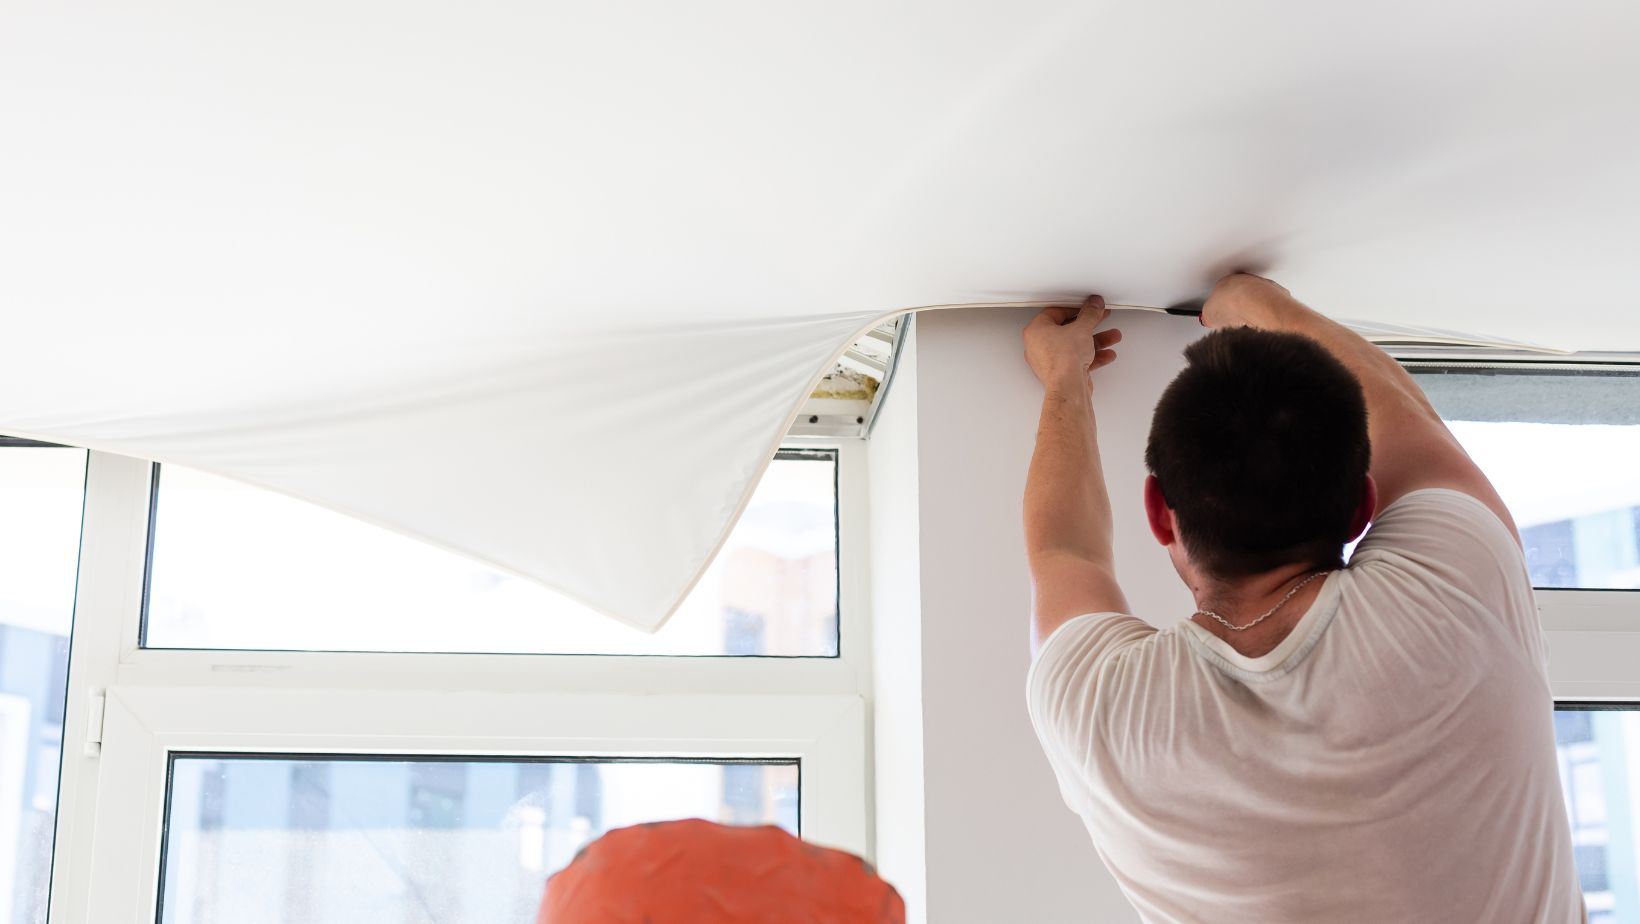
Begin the installation by marking a straight line on the ceiling where the first strip of wallpaper will be placed. This line ensures that the wallpaper is applied evenly. Apply paste to the back of the wallpaper or directly onto the ceiling, depending on the type of wallpaper you are using.
Start at one end of the room and work your way across, smoothing out any air bubbles as you go.
It’s important to work methodically, aligning each strip carefully to avoid gaps or overlaps. Use a seam roller to press the edges firmly against the ceiling, ensuring a seamless finish. Trim any excess wallpaper with a sharp knife for a clean edge.
Quick Tips for Installation:
- Use a plumb line to ensure the first strip is straight.
- Work with a partner to make handling long strips easier.
- Allow the paste to set for the recommended time before trimming.
Maintaining Your Ceiling Wallpaper
Once installed, maintaining your ceiling wallpaper is essential to keep it looking fresh and new. Regular dusting with a soft cloth or vacuum attachment can prevent dirt buildup. For more thorough cleaning, use a damp sponge and mild soap, but be cautious not to oversaturate the wallpaper.
If you notice any seams lifting or small tears, address them promptly with wallpaper seam adhesive. Keeping a small amount of leftover wallpaper can be useful for patching any damaged areas. Proper maintenance not only preserves the wallpaper’s appearance but also extends its lifespan.
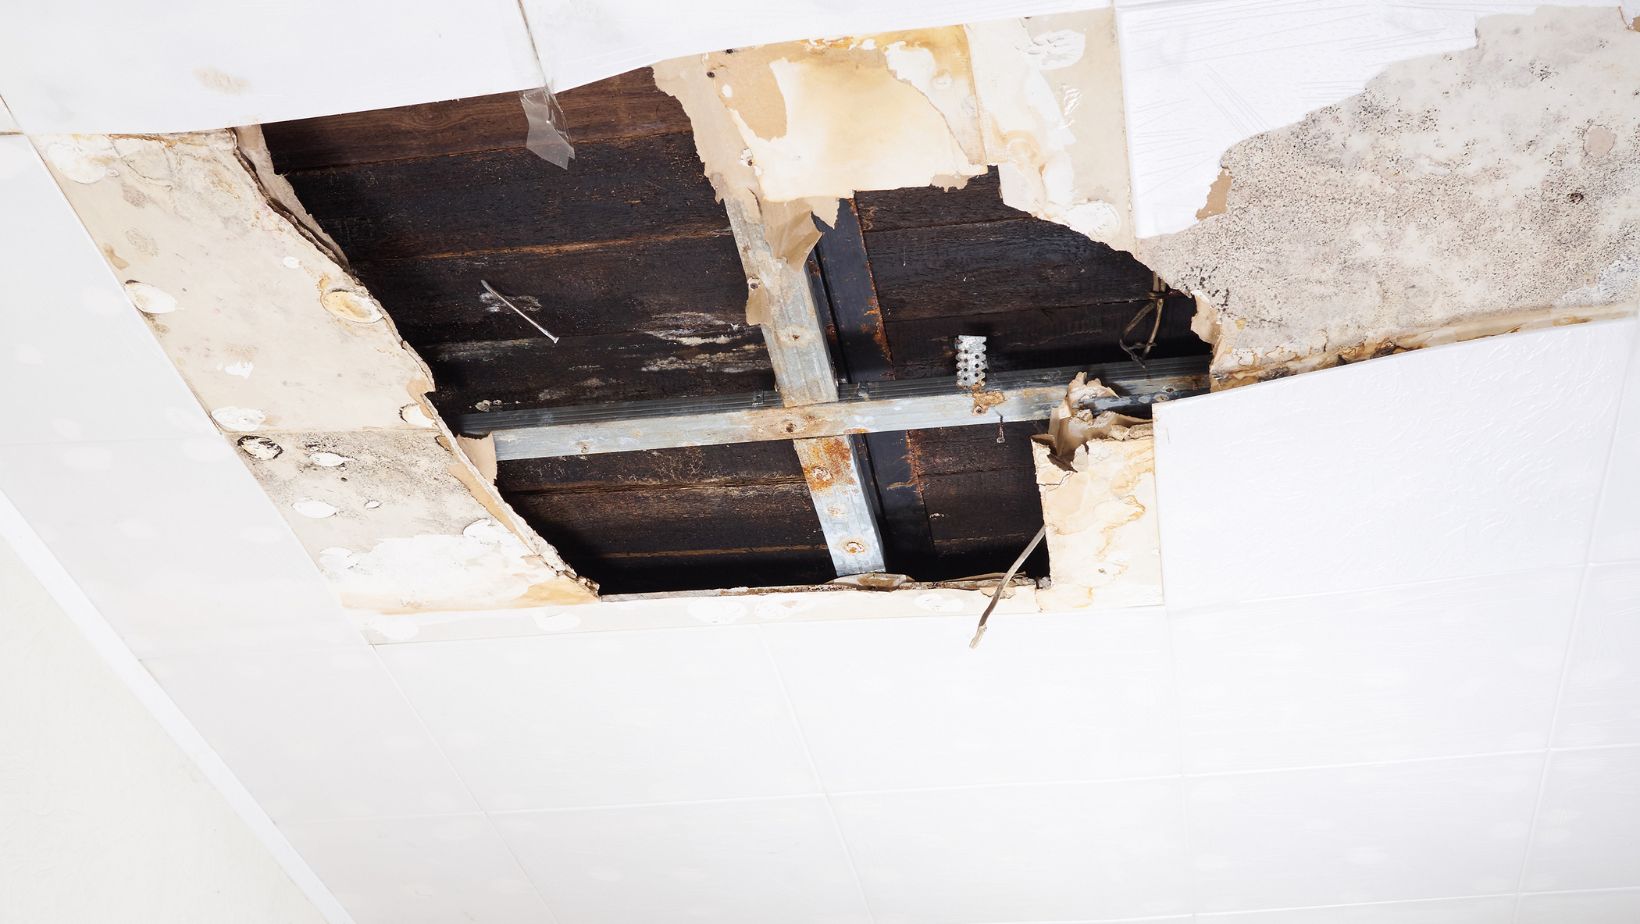
Troubleshooting Common Issues
Even with careful installation, issues can arise. One common problem is bubbling, which can occur if the wallpaper isn’t smoothed out properly during installation. To fix this, gently puncture the bubble with a pin and smooth it out with a seam roller, applying a small amount of adhesive if necessary.
Another issue is peeling at the edges, which can happen if the wallpaper paste wasn’t applied evenly. To remedy this, apply a small amount of wallpaper adhesive under the peeling section and press firmly with a seam roller. Ensuring a clean and dry surface before installation can help prevent these issues.
By following these steps, you can successfully install and maintain ceiling wallpaper, adding a unique touch to your home. Remember, preparation and attention to detail are crucial for a flawless finish. For those who prefer professional assistance, consider consulting experts to ensure the best results. Whether you choose to DIY or hire a professional, ceiling wallpaper can dramatically enhance your space’s ambiance.