
Aluminum can be a great siding choice depending on your home location and some other factors. This silvery-white metal has very good insulating properties, which is why so many home owners opt for this. Aluminum siding will insulate your home better compared to vinyl siding. It will also save you a lot of money towards cooling and heating costs. You can do the installation yourself with some knowledge or you can hire a professional. If you are a DIY person, then this guide will help you install the siding.
The Tools You Will Need
Here are the essential tools for aluminum siding installation –
- Hammer
- Ladder
- Nailer
- Chalk line
- Scaffolding
- Circular saw
- Level
- Caulk gun
- Tin snips
- Protective eye goggles
- Tape measure
- Ear plugs
- Gloves
The Supplies
- Aluminum siding
- Starter strip
- Corner posts
- Waterproof sheathing
- Aluminum nails
- Caulk
- Foam board
- J-channel trim
- F-channel trim
- Self-adhesive flashing
The Preparation Stage
First, remove your existing siding. Also, remove the gutters, vents, downspouts, water fixtures, and everything that can cause problems during your installation. You must re-install them once you have completed.
Install The Foam Board And Waterproof Sheathing
Nail the sheathing over your exterior wall. After this, install a foam board underlayment to ensure that the surface where you will install the siding is smooth.
Use nails on the foam boards. Make sure that there are no gaps.
Install The Corner Posts
Hang the corner posts of your wall corners. Hammer the nails at the top of the uppermost slots. Leave 1/4th of an inch gap. Remember, professional aluminum siding installers will always leave a small gap between the nail’s head and the corner of your post trim. This allows both contraction and expansion. There is so much to learn from the professionals.
Keep using the nails to nail down the posts. Make sure that the bottom of your corner post overhangs the bottom of the wall’s aluminum portion.
Install The Starter Strip
Now, install your footer trim or the starter strip. Draw a chalk line along your wall, making sure it is straight. Hammer your nails at the center of your slots, leaving some gap between the head of the nails and your footer trim that allows expansion and contraction.
Hanging The F-Channel Trim
Install your F-channel trim across the wall under the eaves. Once again, leave some gap.
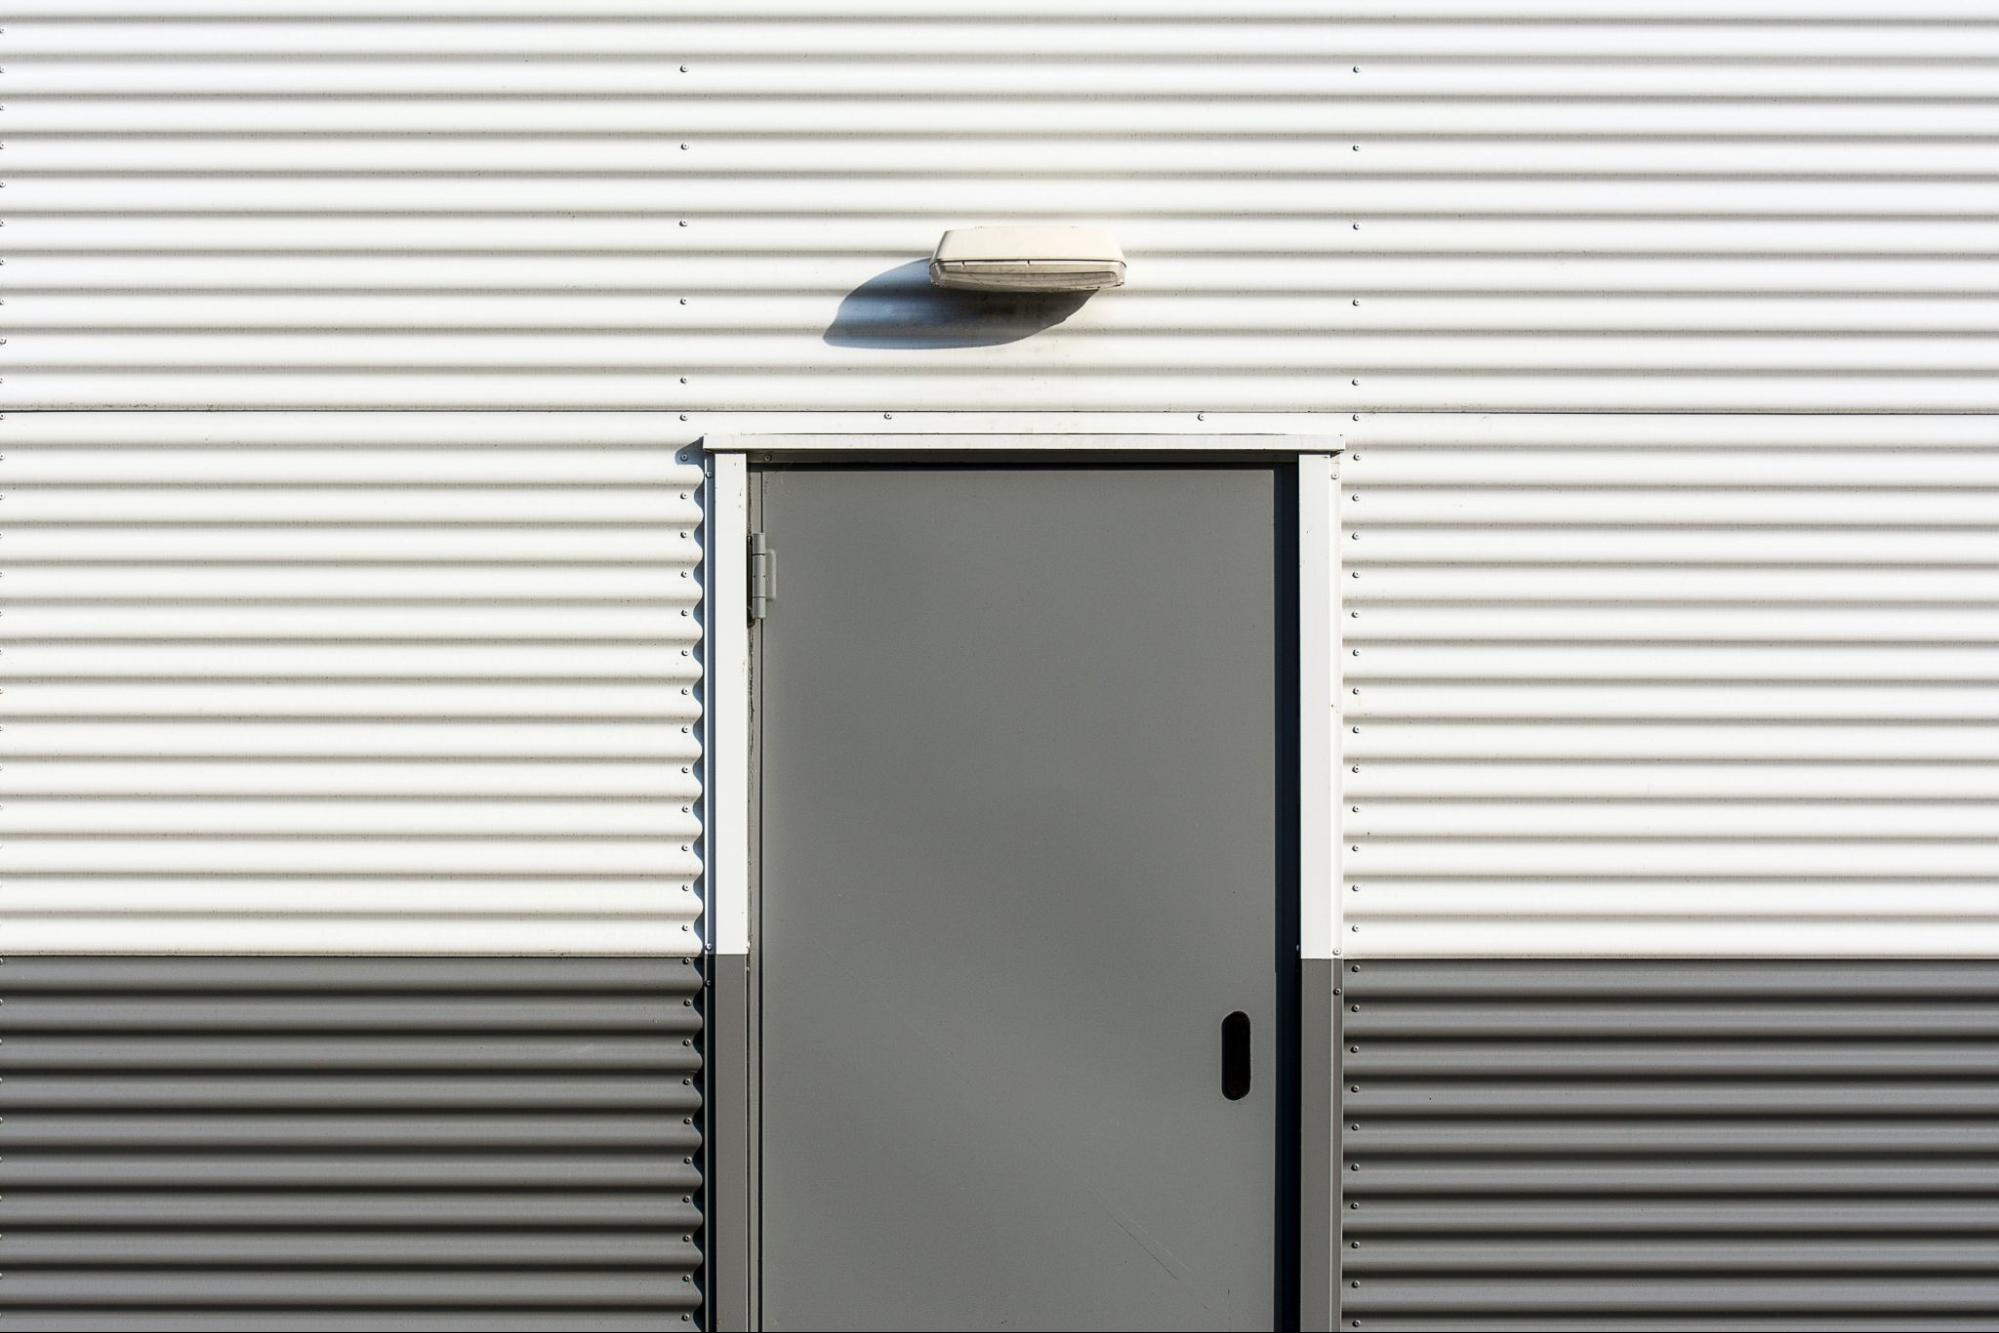
Seal The Windows And Doors
Install the flashing around your doors and windows. Use caulk to seal any gaps to further protect the openings.
Install The J-Channel Trim
It is now time to install the J-Channel around the doors and windows. Use snips to cut the channel after measuring the perimeter of the opening. The channels should be 2-inches longer than your opening dimension. Cut 1-inch from the ends for your bottom channel. Create rain tabs for the vertical channels.
Install The First Aluminum Siding Row
Start at the wall’s bottom and keep moving up. Slide the siding panel into your installed starter strip. Its design ensures that the first row is going to interlock into your starter strip. You must slide the panel almost completely to your corner trim and lock it into place. Just leave a ¼-inch gap. You can also add more siding panels to your first row, making them overlap by an inch. If required, cut the panels to size.
Keep installing the siding. Each panel will lock into the one beneath it. Cut the pieces around the openings (doors, windows, etc.) with a saw.

Sometimes, we like to renovate or make changes to the home. There are many hidden benefits of doing this as well. You can start by installing aluminum siding. It is not rocket science and can be done by most people. Apart from the tools, ladder, and the other supplies, you will also need the confidence of doing this job. Or, you can hire a professional installer. Some home repairs are best left for the experts. After all, they have the training and knowledge to do a good job.