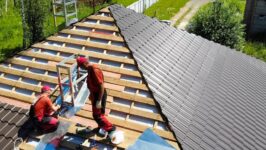
How to Properly Prepare Your Roof for Painting
When it comes to refreshing the appearance of your home, one task that often takes priority is painting the exterior. While many individuals focus on painting the walls or trim, paying attention to the roof is important! Painting your roof can enhance its curb appeal and even prolong its lifespan. However, before embarking on this project, preparing your roof for painting is essential. This post will provide tips and guidelines to ensure amazing outcomes.
Assessing Your Roof’s Condition
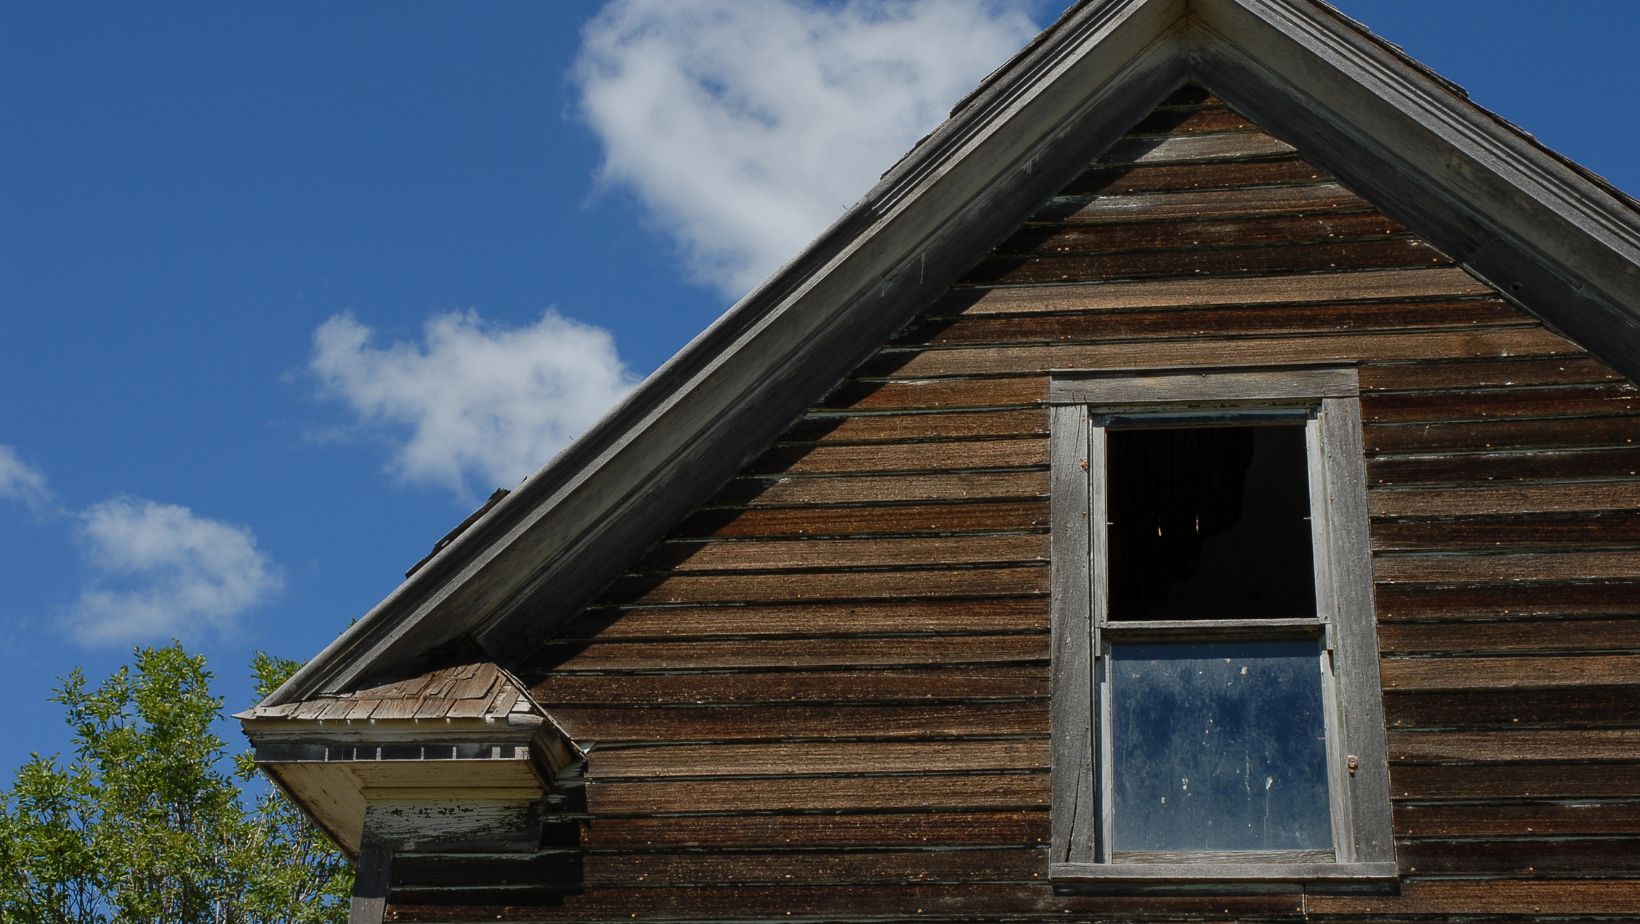
The first step in roof painting services in Auckland is evaluating the state of your roof. Begin by inspecting for any indications of damage, such as missing shingles, cracks or leaks. If you come across any issues, addressing them prior to commencing the painting process is crucial.
If your roof is relatively new and in good condition, you can proceed with cleaning and preparing without concerns. However, if you notice damage, it might be wise to consult a contractor who specializes in roofs to ensure proper repairs are undertaken before initiating the painting process.
How to Clean Your Roof
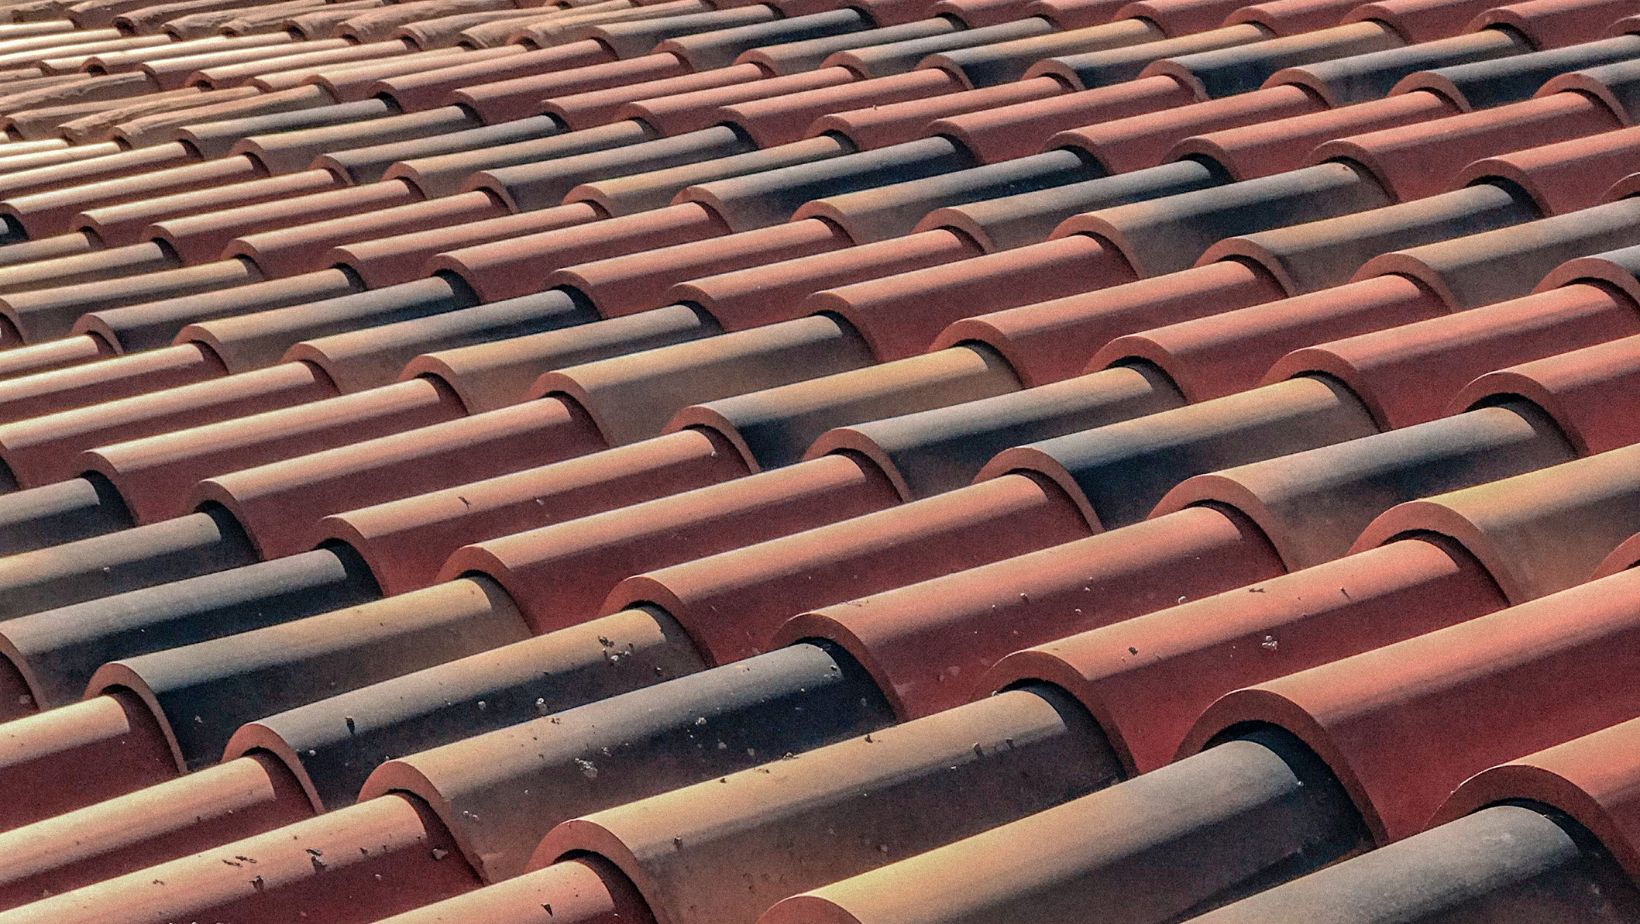
Ensuring a clean surface is crucial for an excellent job of roof painting in Auckland. To begin, remove any debris accumulated over time, such as leaves, twigs, and dirt; you can use a bristle broom or a leaf blower for this task.
Next, let’s address the issue of algae and mold growth. These persistent organisms can hide on roofs and lead to discoloration if left untreated. Use a pump sprayer to create a mixture of equal parts of bleach and water and apply it to the areas affected by algae or mold. Allow it to sit for 15 to 20 minutes before rinsing it off with clean water.
Once you’ve cleared away debris and addressed any algae or mold growths, it’s time to wash the roof surface. Begin by wetting the roof surface with a garden hose before applying a roof cleaning solution, following the instructions provided by the manufacturer.
Using either a brush or a low-pressure washer, gently scrub the area while paying special attention to stubborn stains or dirt buildup. Finally, rinse any remaining cleaning solution with water, ensuring no residue is left behind.
Fixing and Preparing the Surface
Now that you’ve cleaned your roof, it’s time to take care of any repairs and ensure the surface is ready for painting. Check for any damaged shingles or tiles. Replace them as needed. Pay attention to any nails or protruding elements on your roof and secure them properly.
Before priming, consider applying a silicone sealant along the flashing to prevent leaks. Make sure to follow the instructions provided by the product for application techniques.
Once you’ve completed the repairs, allow your roof to fully dry before proceeding. This step is crucial because a moist surface can affect how well the paint sticks and may result in outcomes. If you’re unsure about the integrity of your repairs or the quality of your work, consulting with professionals like Gorilla Roofing & Construction can provide peace of mind. They specialize in ensuring that your roof is in optimal condition before you undertake any further steps, such as painting or sealing.
Applying Primer and Painting Your Roof
To ensure adhesion between your chosen paint and the roof’s surface, applying a primer before painting is recommended. Consult an expert at your home improvement store. Refer to the paint manufacturer’s guidelines for selecting a suitable primer based on your specific roofing material.
Before applying primer or paint across your roof, test it out on an area – perhaps a less visible section at the back or side of your house – to ensure you’re satisfied with the color tone and overall appearance.
To get started, begin painting from one side of the roof. Gradually work your way towards the other side in small sections. It’s best to use high-quality paint brushes specifically designed for such applications. This approach allows for control over coverage while minimizing any mistakes or streaks during the painting process.
For a long-lasting finish, it is recommended to apply two coats of paint. Remember to follow the instructions provided by the manufacturer regarding drying times between coats in order to achieve optimal results.
Conclusion
Painting your roof is a way to give your home a refreshed look, protect it, and enhance its curb appeal. However, proper preparation is crucial for achieving the best results. By following the steps outlined above, which include assessing your roof’s condition, properly cleaning and treating it, making any repairs and using suitable primer and paint products, you can ensure that your roof remains well-protected and visually appealing for many years to come.
So why not consider going beyond painting your walls or trim when updating the exterior of your home? Show some love and attention to your roof as well! With preparation and care, throughout the process, you’ll have a good-looking roof that will truly make your entire house stand out.