Is Spackle Waterproof? (Answered In Detail!)
Spackle has many uses and can be applied on walls and other surfaces for quick repairs.
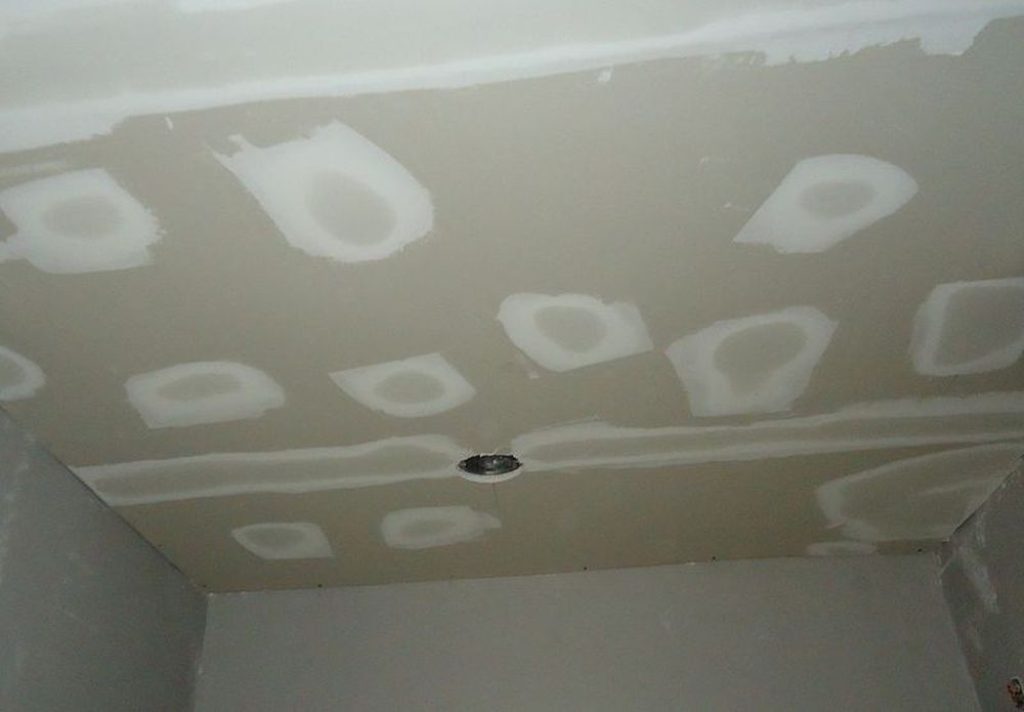
Most people use it to fill in holes, cracks, and other imperfections.
Typically, though, spackle is placed on wood and plaster walls in a variety of areas around the home.
Then, they paint over the spackle to complete the look of the repair. Of course, spackle is a great way to improve the look of your home.
However, how can spackle be used?
And more importantly, is spackle waterproof?
Spackle isn’t that expensive, but before you buy some it’s best to learn a little about it. In this post, I’ll answer this question in detail.
I’ll talk about whether this repairing substance can withstand water. I’ll also talk about how you can seal spackle and if you can use it outside.
Is Spackle Waterproof?
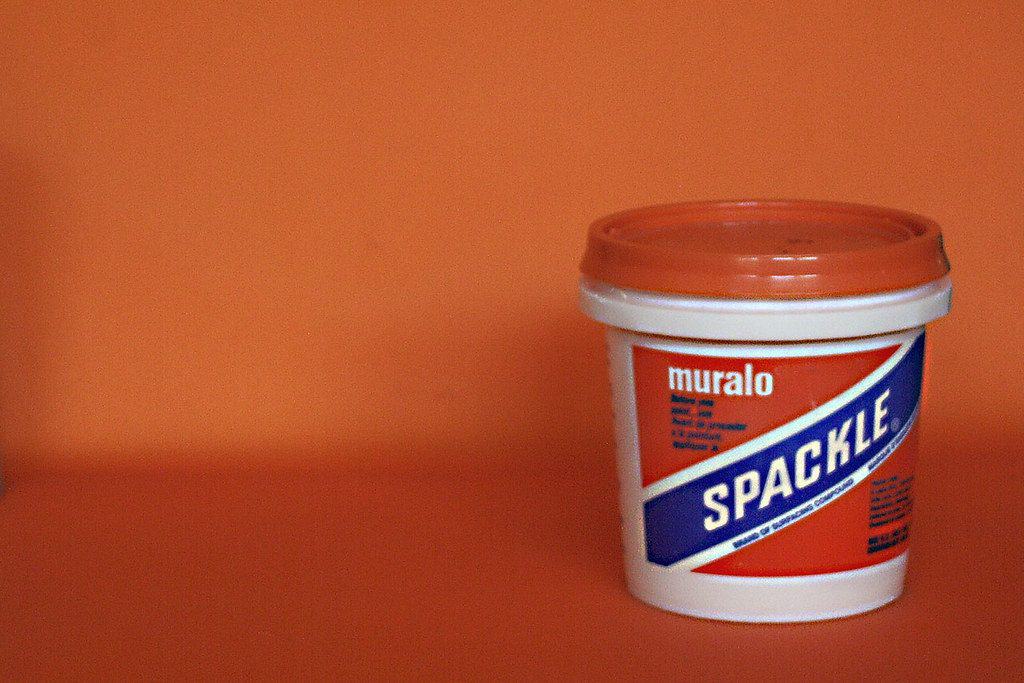
First, let’s talk about whether spackle is actually waterproof. The answer to this question will depend on the type of spackle you buy.
Unfortunately, regular spackle is not a waterproof substance. Standard spackle does resist moisture to some degree.
But it isn’t entirely waterproof and it tends to be less flexible than other repair substances.
Again, many homeowners and professionals use spackle for home repair. Usually, though, you just can’t use it on its own though.
This is why some people prefer using caulk over spackle. Caulk is able to resist water better and tends to be more flexible.
Spackle, on the other hand, hardens right away and can’t be re-wet. The hardness of the spackle is good if you want to fill in deep or large holes.
But for smaller cracks spackle isn’t always the best option, especially if it isn’t waterproof. Luckily, there are a lot of waterproof spackle options available.
Also known as patch filler, this type of spackle is waterproof. And, it can be used on a variety of surfaces both indoors and outdoors.
Waterproof spackle is a little more expensive. But it is well worth the money. Epoxy-based spackle is the most common type of waterproof spackle.
But you can also find acrylic-based spackle that will resist water fully. Just do a quick google search of waterproof spackle to find some good options for your home.
Can Spackle Be Used Outside?
Spackling can absolutely be used outside. Again, though, you need to consider what type of spackle you have and what surface you are putting it on.
If you are using light spackle or standard spackle, then these options won’t be great for outdoor repair.
Lighter spackles are meant for indoor surfaces. On the other hand, a spackle that is completely waterproof and crack-resistant can be used outdoors.
This includes acrylic and epoxy-based spackles that are heavier and made for the outdoors. More resilient spackles have a better chance of lasting outside.
And with the right priming and sealing techniques, you can use spackle outside for sure. This includes sanding down the surface, putting on a primer, and a few other steps.
I’ll talk more about how to seal spackle so it lasts outside in the next section of the post.
But just know that spackle can be used outside. You want to check the weather before you use the spackle.
Just to make sure that it doesn’t rain when you are trying to apply the spackle. Even waterproof spackle needs to be applied while it is dry.
This way it affixes to whatever material you are trying to repair.
How To Seal Spackle?
So, you know that some spackles are waterproof. And I have talked briefly about how you can use spackle outside if you seal it right.
But how do you seal spackle the right way either inside or outside?
I’ll go over how you can do this in the final section of this post. Sealing spackle takes a few different steps to complete. But it isn’t hard to do at all.
Step 1: Choose Your Spackle
Before you do anything else you want to make sure you have the right supplies for your repair.
Again, certain spackles are not waterproof. And other spackles are too light or aren’t resilient enough to go outside.
Light spackles also aren’t great for very large holes. So, look up heavier spackles and waterproof spackles online.
I recommend getting a patch filler that is higher grade.
Especially if you have bigger holes and cracks to fill. Heavier spackles are the best you can also try out latex and oil-based spackles.
Most new spackles won’t shrink and are easy to cover up. So just pick something that suits your needs as well.
Think about whether you are using it inside or outside. Then move on to the next step of the process.
Step 2: Purchase Your Other Priming Materials
You could just put spackle on and call it a day. But I don’t recommend doing this, as it will make the spackle wear down faster.
Instead, start getting some supplies to seal up your spackle. This will include paint to cover over the spackle.
You will also need something to sand the surface you are spackling.
Finally, you will need a good primer to put over the surface before you spackle it. As this will create the best results.
Step 3: Plan Out When You Will Spackle
Spackle for outdoor use is waterproof, but you want to spackle on a day that is not too rainy.
Extra moisture as you are trying to apply and seal your spackle could ruin the results.
So, look at the weather and plan to spackle when the weather is nice if you are putting your spackle outside.
If you are spackling inside then you don’t need to worry about this. Just figure out when you want to repair your home.
Step 4: Start Sanding The Surface
Before you put down spackle or primer, you need to sand the surface you are filling.
Use sandpaper to smooth out the surface and make it perfect for a spackle application. Then wipe away any dust when you are done.
You can use a little water to make the sanding easier. But make sure to wipe away any moisture when you are done sanding.
Step 5: Put Down Primer
Next, you are going to need to use a primer. For plaster walls, this isn’t as important. However, walls made from wood do need to be primed though.
You might not think it is a big deal but if you put spackle on wood without primer you could end up with uneven walls.
In some cases, the wood can even become damaged and cracked. Make sure your primer is compatible with your wood then apply it.
You want the right primer for your wood otherwise it can stain. After you apply it let the primer dry fully then finally spackle your wall.
Step 6: Put On Your Spackle
Putting spackle onto your wall isn’t that hard. I recommend using a pre-mixed spackle so you don’t have to mix it yourself.
But if you need to mix your spackle do that first.
Then, all you have to do is scrape it out and fit it into any holes and cracks with a putty knife.
Scrape away any excess spackle that is left on your wall, then move on to the final step of the sealing process.
Step 7: Paint Over The Spackle To Seal It
To seal your spackle over completely, you will need to paint overtop it. Again make sure the surface is smooth by getting rid of any extra spackle.
Waterproof paint might be ideal if you are spackling outdoors. But otherwise, you can just use normal paint if you are indoors.
Paint the spackle with a single coat. Wait for the paint to dry this could take an hour or two depending on what kind of paint you are using.
Finally, apply a final layer of paint and let it dry. Then your spackle will be sealed.
Make sure to put all your supplies away and put the lid on your paint and spackle. This way you can use it again in the future if you need to do a quick repair.
Conclusion
Spackle is an extremely convenient and easy tool to use.
Especially if you have dents, cracks, and other holes that you need to quickly fill in. But not all spackles are alike.
Some spackle is waterproof and can be applied to seal out water and other forms of moisture. You can even use certain spackles inside and outside.
But you want to make sure that you are using the right product. Heavier spackles are water-resistant and can be placed outdoors.
While lighter spackles are not waterproof and should only be used for small levels of damage. You also need to seal your spackle so it last longer.
I talked about how you can do this step by step in the previous section. Read over the article again if you have any questions.