Skim Coat vs Primer – What Is The Difference And What Comes First?
While new drywall may seem smooth and easy to paint on, you’ll quickly discover that it’s not exactly true.
The paper covering the drywall is not completely smooth, and, in addition, there will be screws and tapes over the seams.
Also, if you’re just renovating and repainting the old drywall, it will be in even worse condition.
Luckily, there’s a solution for all this, but there are steps you’ll need to follow, and skipping some of them will lead to an unsatisfactory result.
Of course, the pros are perfectly aware of this, but DIYers may be confused by some steps, especially those that come before putting on the final coat of paint, particularly skim coat and primer.
Knowing when and how to use each of these products can make a significant difference in the final outcome of your project.
Below, I’ll explain what they are, how they’re used, and compare skim coat vs primer to show what’s the purpose of each of these stages of the painting process.
So, keep reading to learn more about these crucial steps in the painting process.
What Is A Skim Coat?
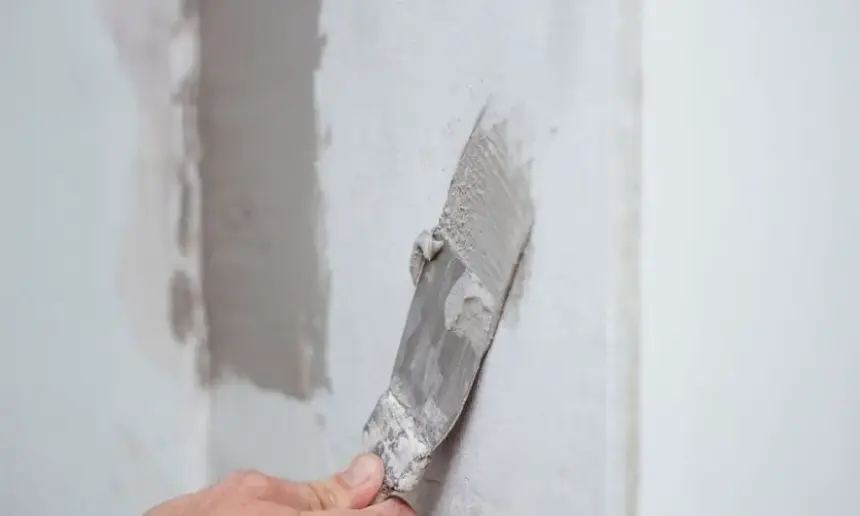
Skim coating is a technique used by painters to make the drywall smooth.
It involves applying a thin layer of drywall joint compound, colloquially called the mud, over any uneven, damaged, bumpy, or worn-out areas of drywall.
Commonly used to repair damaged walls, it can also even out textured walls or neat out seams between the walls and moldings.
Skim coating is often applied to brand-new drywalls to hide seams between different sheets and smooth out rough edges.
The purpose of the skim coating is to provide a smooth surface for further painting work.
The process of the skim coating itself is rather simple, but it takes some practice.
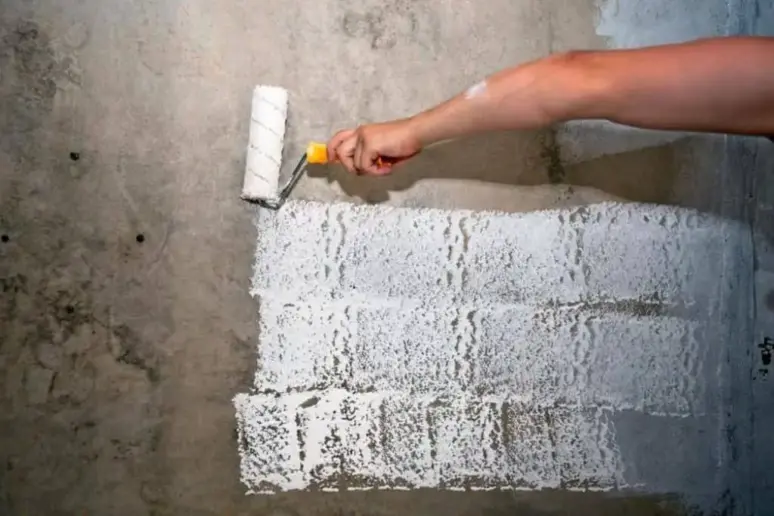
The drywall compound can be applied to the surface using a drywall knife, paint roller, or texture sprayer.
As the compound is applied in very thin layers, it may take more than one skim coat to make the surface completely smooth.
What Is A Primer?
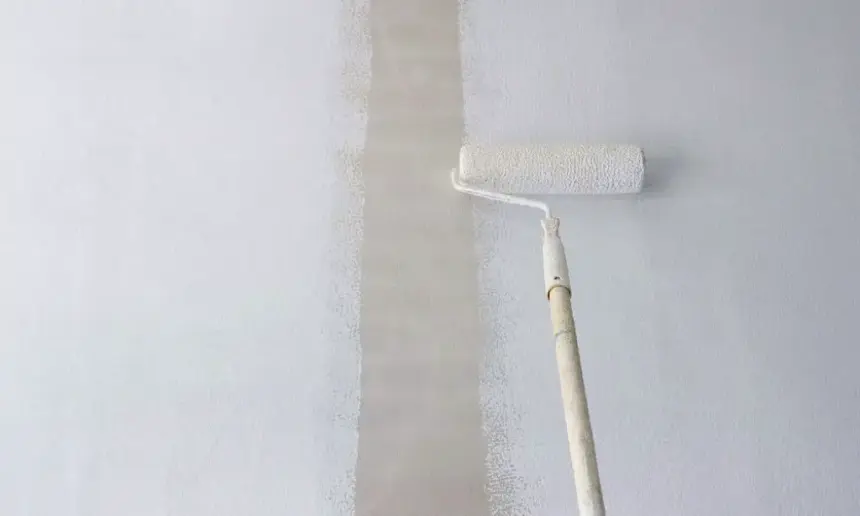
Finishing of the drywall is commonly done with two coats of paint -primer and top coat.
The main role of the primer is to help the top coat stick by providing better adhesion between the finishing layer and the surface.
It also helps seal in some of the more stubborn stains and additionally smoothes out the surface.
Plus, the primer will make the top coat last longer as it will chip less.
Primer is usually water-based and is formulated not so much to deliver color but to provide stickiness and better protect the surface.
While it’s not always absolutely necessary, it will provide the best possible finish.
It should always be sued if you’re painting over a damaged wall, darker color, skim coat, or brand-new drywall.
It’s also a must if you’ve previously removed wallpaper from the surface or if you’re using latex paint over an oil-based one.
Skim Coat vs Primer – What’s The Difference
While they’re both used to prepare walls for the finishing coat of paint, skim coat and primer have different primary purposes.
A Skim coat is mainly used to even out the damaged wall, smooth out uneven surfaces, and hide any potential bumps and lumps.
Primer can also help you make the surface more smooth, but not on the level the skim coat does it, especially with taped drywalls.
Its main purposes are to provide adhesion for the top coat, hide the stains, and equalize color.
A skim coat is done with a cement-based drywall joint compound. It can be bought as a ready-made mixture or in a powder that has to be mixed with water.
Primer is usually water-based, although you can purchase oil-based and latex-based primers, depending on your specific needs.
They commonly contain a sizing agent, such as polyvinyl acetate, providing better adhesion and sealing porous material.
Skim Coat Or Primer – What Comes First?
When painting drywall, it’s important not to miss any steps, but also to do them in a particular order.
The skim coat goes directly on the bare drywall surface, so it’s always the first layer to apply.
It provides the initial smoothing of the wall.
Before moving on to the next layer, the skim coat should be left to dry and, if needed, lightly sanded.
As the skim coat is rather porous, it soaks up a lot of pain and doesn’t have particularly good adhesive properties.
That’s why it’s important to apply at least one coat of primer over the skim coat before painting the top coat.
Primer will fill out the tiny voids in the skim coat and provide better sealing and adhesion for the finishing layer of paint.
What Is Level 5 Drywall Finish?
Sometimes, it’s not necessary to apply all these finishing techniques, for example when the drywall is hidden from the view or in spaces that don’t require a particular aesthetics.
To standardize how the walls are constructed, the Gypsum Association has developed five levels of finishing which are recommended by a number of trade associations in the construction industry.
Level 5 is the highest one and it represents the premium standard of quality.
The main difference between level 5 and the lower levels is the use of the skim coat to cover the entire surface of the drywall.
The level 5 finish should appear flat and provide a uniform surface under close inspection in the conditions of severe lighting.
Conclusion
Painting the drywall seems like a relatively easy job and many homeowners, instead of asking for professional help, try to do it on their own.
This is certainly not a bad idea, but you should be aware it does require some knowledge and plenty of your time and effort.
Still, with some guidance and the right tools, it’s more than doable.
To achieve the best results and have a finish that will look as you desired, it’s crucial that you don’t skip any steps.
This mainly includes applying skim coating and primer before you put finishing touches using the top coat of pain.
Even though this may seem to double or triple your work, it will be more than worthwhile.
Only when done right, the finish you applied to your wall will last longer and have the high-quality look.