6 Advantages And 5 Disadvantages Of Skim Coat
“To skim coat or not to skim coat” is a significant concern for people planning a DIY house renovation project.
Surface flaws like cracks, paint flaking, peeling drywall paper, etc., can ruin the entire look of your house’s interior.
And let’s admit it: repairing options like plastering or replacing drywall are costly!
But the good news is that you can cover up those seams without spending a fortune. How’s that, you ask? By skim coating, of course!
Skim coating is a simple and effective option to smooth damaged walls and ceilings. It is gaining great popularity in the modern era, and for all the good reasons.
For starters, the technique offers numerous benefits over other repairing alternatives. But is skim coating worth it, or can your renovation project survive without it?
This post features the advantages and disadvantages of a skim coat to help you decide whether or not it is worth adding an extra step to your house revamp project.
So, let’s get started!
What Is A Skim Coat?
Skim coating is a fantastic home improvement technique to make old, dingy walls and ceilings look brand new!
It is a thin coat of diluted joint compound (aka mud) that restores the original smooth surface when applied to damaged walls.
Skim coating gives a long-term solution for leveling, filling a seam, or repairing minor cracks on an existing flat surface. Moreover, it provides a glass-like gloss to walls.
There was a time when people would purposefully apply orange peel or knock-down texture to their walls.
But the trend is long gone, and for good! Instead of chipping away at the rugged material to let the smooth walls emerge from underneath, homeowners are turning towards skim coating.
So, the texture is there, but you are concealing it like you apply concealer to cover your blemishes.
Likewise, skim coating walls have many other purposes, but I will talk about them later.
As for now, let’s address the elephant in the room: the advantages and disadvantages of skim coats:
Advantages And Disadvantages Of Skim Coat
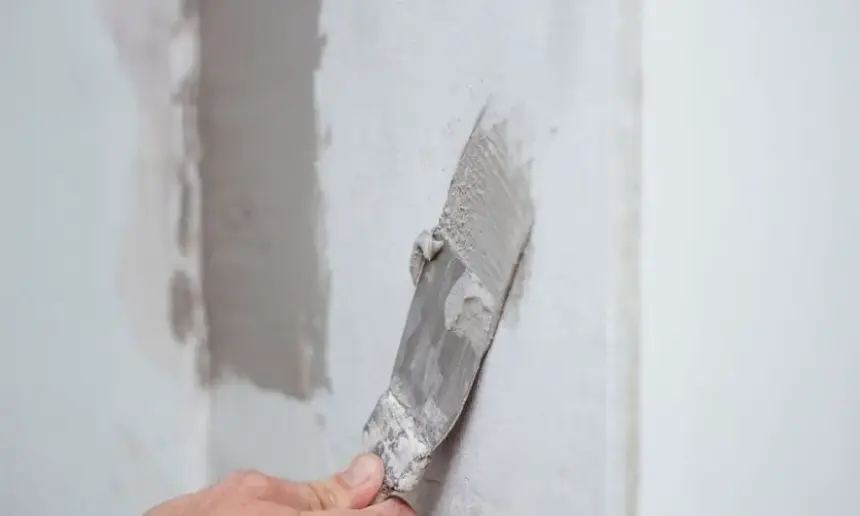
Determining whether the skim coating is necessary for your home improvement gig requires complete knowledge of its pros and cons.
Worry not, because I have listed the advantages and disadvantages of skim coats to make the decision easier for you:
Advantages Of Skim Coat
1- Cost-Effective
Cost is an essential consideration in repairing and maintaining equipment.
Skim coating is significantly less expensive than removing existing textures from your walls or ceiling.
So, skim coating may be the ideal option if you’re tired of your current texture and want to change it without selling a kidney.
2- Smooth Surface
Skim coating is an excellent technique for making walls and ceilings smoother.
In addition, it reduces the amount of texture required to make the interior of your home look new and exquisite.
So, whether you’re repairing, repainting, or retexturing your wall, the skim coating is the way to go.
3- Appealing Look
If you have ever looked at a freshly painted wall, you must have noticed that the space between the floor and the ceiling is visible, which isn’t particularly appealing.
Luckily, the skim coating gives the ceiling a refined aspect by blending it into the walls.
Moreover, the mild and welcoming blend makes it difficult for the eye to distinguish between the flooring and the walls.
Thus, the skim coating makes the ceiling appear higher and the room, more spacious.
4- Excellent Repair Option
Apart from covering the gap between the walls and the floor, you can skim coat to conceal seams, moldings, and the gap between bricks.
Moreover, you can fill in holes and level uneven edges while skim coating.
It would be pretty expensive to match the texture and replicate them without a skim coating.
Furthermore, the procedure might be complicated and time-consuming. On the contrary, repairing walls using a skim coat is straightforward and quick.
5- Great For Prepping Walls For Repainting
In addition to thoroughly covering all surfaces, a skim coat prevents any paint from seeping beneath.
When you paint an already painted wall, there is a high chance of the colors mixing.
However, a skim coat acts as a layer between your painted wall, offering you a blank canvas to paint on.
Moreover, it ensures that your color is consistent and that there are no noticeable brush marks or shine differences.
6- Ideal For Making Your Wall The Focal Point Of The Room
Catching up with the modern trend, more and more people are designing their walls as the focal point in their rooms.
But it’s difficult to look at anything else once you’ve seen the dents and bumps which, by the way, even primers and paints can’t hide.
So, if you want to hang lighting directly on the wall or install track lighting along with the ceiling, skim coating will ensure that the shadows generated by this sort of lighting do not cause your walls to appear rough.
Disadvantages of Skim Coat
1- Time-Consuming Prep Work
While skim coating application procedure is straightforward and rapid, you can’t apply it as it is.
You must first go through the preparation procedure, which needs a significant amount of time and expertise.
You must first apply the joint compound to the damaged area; you will not be able to apply the primer until the joint compound has dried.
Moreover, you will have to allow the primer to dry before applying the skim coat. All these steps lengthen the skim coating process.
2- Makes The Surface Imperfections More Visible
Damages and other defects on the wall are more noticeable if the skim coating job is not done correctly.
While texturing can cover damages and nicks, skim coating demands extra caution to achieve the same outcome.
Moreover, when a skim-coated wall becomes damaged, the imperfections are more visible than through a textured wall.
3- Requires Skill And Effort
Because skim coating is a time-consuming and complex operation, it is usually best left to a professional.
That said, if you’re going to do the coating yourself, be sure you’re well-versed in the procedure.
If you miss any lumps or bumps, you’ll have to start over from the beginning with sanding.
Then you have to repaint the wall with another coat.
4- Labor Cost Is A Consideration
Considering that skim coating demands extra attention and a high level of experience, you will have to hire a professional.
Otherwise, not only will it cost you more money, but it will also waste a lot of time.
So, if you don’t want to go that route, you’ll have to consider labor cost as a primary expense.
5- Takes A Long Time To Dry
Skim coat takes around 12 to 24 hours to dry.
This could be a drawback, especially if you’re in a hurry or need to complete the process swiftly.
Skim coating might not be the best option if you’re pressed for time because it may take more time than you’re prepared to devote.
When Should You Apply Skim Coat?
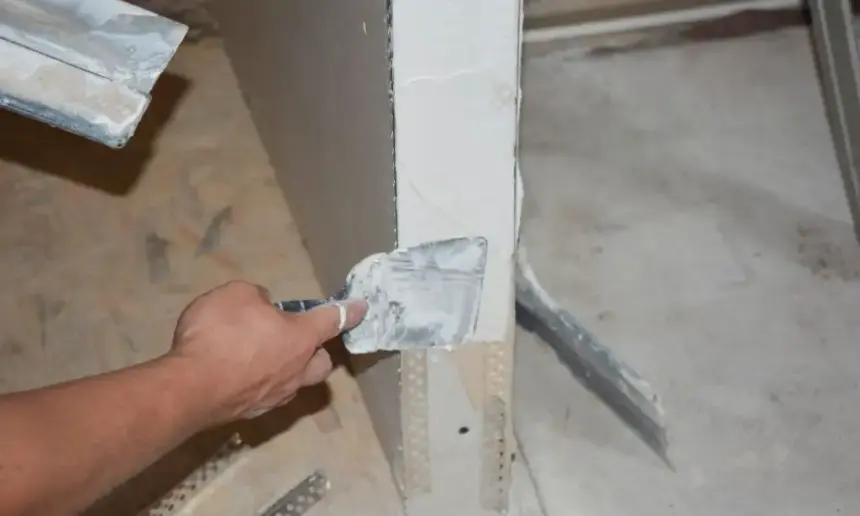
These advantages and disadvantages of skim coat indicate that it’s an excellent way to give your walls a refurbished look.
That said, you must know when you need to skim coat your walls to make sure you are not wasting your WELL EARNED time and effort.
1- After Removing Wallpaper
Wallpaper removal leaves gouges in the drywall behind it and sometimes even tears the drywall.
In this situation, the drywall is in desperate need of a skim coat.
2- After Repairing Your Drywall
A skim coat will provide a consistent surface for retexturing or priming and painting if there have been drywall or ceiling renovations.
3- To Cover-up Unappealing Walls
If you notice surface deterioration on your wall or have an outdated texture, you can cover it up by skim coating.
Skim coating will give you a fresh start without having to pull out all of your old walls!
4- After Installing A New Drywall
Applying a thin layer of skim coat on a newly installed drywall ensures a blank canvas for priming and painting.
When you paint on drywall without skim coating it, the paint absorbs into the drywall paper, exposing the tape joints.
In the field of painting, this is known as flashing or photographing.
When there is a lot of natural light in a space, especially when the light streams directly down a wall or ceiling from a South facing window, flashing might occur.
Frequently Asked Questions Regarding Skim Coating
Q: Is it necessary to prime a wall before skim coating?
A: While priming is not mandatory, experts suggest applying primer on the wall before skim coating.
Primer seals the wall, making the skim coating process more accessible and seamless.
Q: What is the difference between skim coating and plastering?
A: Skim coating and plastering are different techniques to preserve a wall.
However, a major distinction between skim and plaster is that the surface of a plastered surface is always rough, but a skimmed surface is smooth.
Q: Can I skim coat over paint?
A: You are supposed to skim coat before painting. Once you are done with that step, you can paint, wallpaper, or decorate in any way you like.
If you skim coat over existing paint without priming it first, you might face an issue covering the paint when it starts to peel off.
Conclusion
Skim coating is budget-friendly just like casino-utan-svensk-licens.com and betting-utan-svensk-licens.net/.
Moreover, it’s easy to apply, hides seams, and gives the wall a glossier appearance.
Professionals typically prefer to skim coat over other accessible solutions since it gives your old home interior a fresh and smooth aspect.
However, while a skim coat adds life to your dull and damaged walls, it demands proficiency in its application, and a poor handyperson could ruin the project.
So, whether or not to go for a skim coat depends upon your personal preference and budget.

